Most Effective Podcast Intros [Free Templates & Scripts 2025]
Nabamita Sinha, 4 hours ago
If you are looking forward to creating a hanging indent in Google Docs with the help of Ruler, a keyboard shortcut, or the Indentation Options dialogue box. Well, then you should know that hanging indent are created if the first line of a paragraph is at a location to the left of subsequent lines of the paragraph.
The first line can easily be indented to the left or even right of the subsequent lines. Either way, the first line of a paragraph is outdented or indented. Then a hanging indent is used for bullets and numbering and also to cite a reference.
So here you are, wondering how to do hanging indents on google docs! So people might even be sitting with their dissertations wondering how to indent citations on google docs! Don’t worry because we have got you covered.
All you have to do is log into your Google account and open your drive. Then move on to create a document in google docs, or use a template from SmashingDocs and here you can easily create some hanging indents.
One of the most common ways of creating hanging indents is by using the Ruler option. If you don’t find the Ruler option displayed on your Google Docs, you just have to tap on ‘View’ and then click on ‘show ruler.’
Now here’s how to do hanging indents on google docs with the help of the Ruler.
1. In your Google Docs, click on ‘paragraph(s)’ you simply have to indent. If you need to indent a single paragraph, then you just have to click on the same.
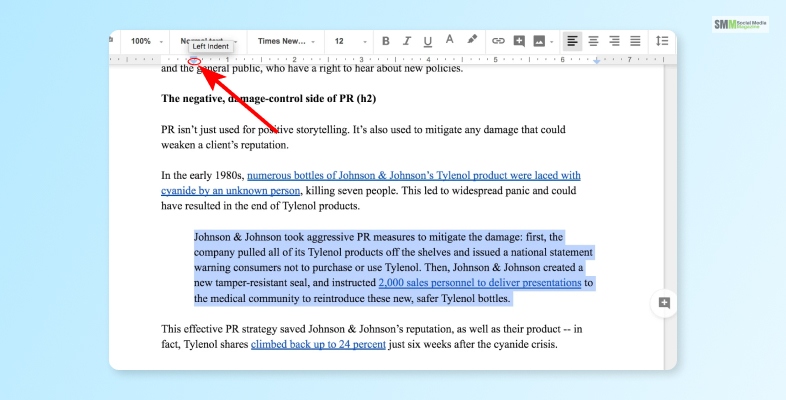
2. Go to the Rule and start dragging the indent marker on the left – the small blue triangle that points down.
3. Now drag the left indent marker to your preferred location – where you need the indentation.
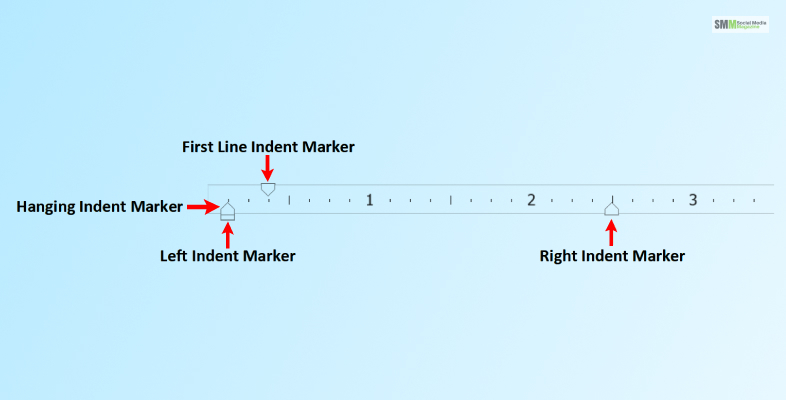
4. When you do so, you will notice how the indent marker for the very first line moves with the same. Since these are typically stacked together, you have to begin on the left margin of the Ruler.
Read More: How To Record Google Meet? Ultimate Guide To Google Meet
Of course, there’s more than one way when it comes to create a hanging indent in Google Docs. So stop googling ‘how to hang indent on google docs’ and instead scroll down to check out how you can do the same with the help of the Indentation Options dialogue box.
Once you open your Google Docs, click on the ‘paragraph(s)’ you need for indentation. If you need indentation for only one paragraph, then just tap on the same.
And boom, you will get your indentation in google docs sorted!
So what we tell you is there’s another solution to your minor issue? Stop asking google ‘how to do a hanging indent on google docs’ and just have faith in your keyboard because keyboard shortcuts can make life easy, provided you know them.
So let’s find out how to do hanging indents on google docs with the help of keyboard shortcuts.
And you will have your hanging indent ready in no time!
Read More: Click Google Gravity I Am Feeling Lucky
Check out the most frequently asked questions about how to do hanging indent on google docs mentioned below.
Ans: In google docs, you just have to highlight all your citations and then visit the Format section. Once you are in the Format section, just tap on ‘Align & Indent’, and then you will find the Indentation options. Now you just have to visit the Special Indent option and click on ‘hanging. Then, once you have fixed the value (0.5 in most cases), don’t forget to click on ‘apply.’
Ans: Follow the steps below to do a hanging indent on Google Docs online,
1. Choose your desired text and click on ‘Format.’
2. Now tap on ‘Align and Indent.’
3. Then you have to select ‘Indentation Operations’ first and then ‘Special Indent.’
4. Now tap on ‘Hanging’ and then on ‘Define Parameters.’
5. Don’t forget to click on ‘apply.’
Ans: For hanging indents, your computer shortcut is ‘Ctrl + T.’ On most devices, users can easily create hanging indents by clicking on the link they want indented. And then, just press the ‘Ctrl’ and ‘T’ keys simultaneously. In case users are using their Macbooks, pressing ‘C’ and ‘T’ together will do the job.
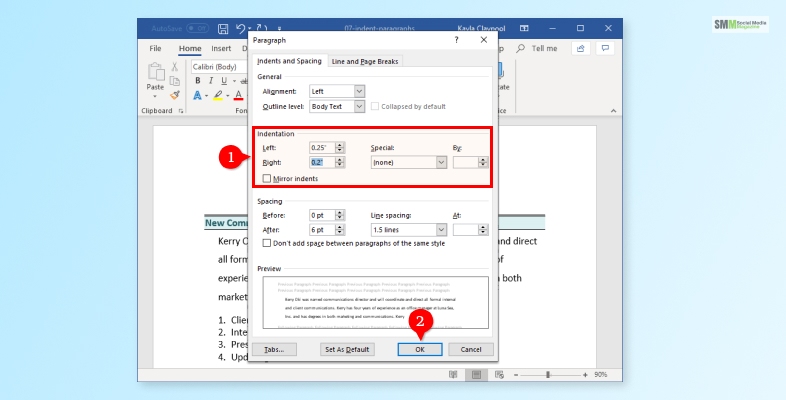
Ans: Follow the steps mentioned below to do hanging indent on google docs.
1. Tap on the ‘Indents and spacing’ tab located within the Paragraph option.
2. Find the ‘special’ drop-down option and click on it.
3. Once the drop-down opens, tap on ‘Hanging.’
4. You will find another option right beside the drop-down list with the title ‘–’
5. Change the value to 0.5.
So now you are aware of how to do hanging indents on google docs! And it wasn’t that really simple because we loved teaching you how to get this done in a few simple steps. Moreover, there’s at least more than one way to get these sorted. So the next time you are worried about something major yet vital, give yourself some time.
You never know, you might not need us at all! So tell us, what do you think about hanging indents on Google docs? Don’t forget to share your experiences in the comments below.
Read More:

Barsha Bhattacharya is a senior content writing executive. As a marketing enthusiast and professional for the past 4 years, writing is new to Barsha. And she is loving every bit of it. Her niches are marketing, lifestyle, wellness, travel and entertainment. Apart from writing, Barsha loves to travel, binge-watch, research conspiracy theories, Instagram and overthink.