
How to Get More Followers on TikTok: Proven Strategies for Sustainable Growth
Barsha Bhattacharya, 1 day ago

Making a successful podcast involves many things other than having cool podcast names to attract subscribers, cool podcast guests to captivate listeners, and cool podcast segment ideas to make listeners glued to their devices.
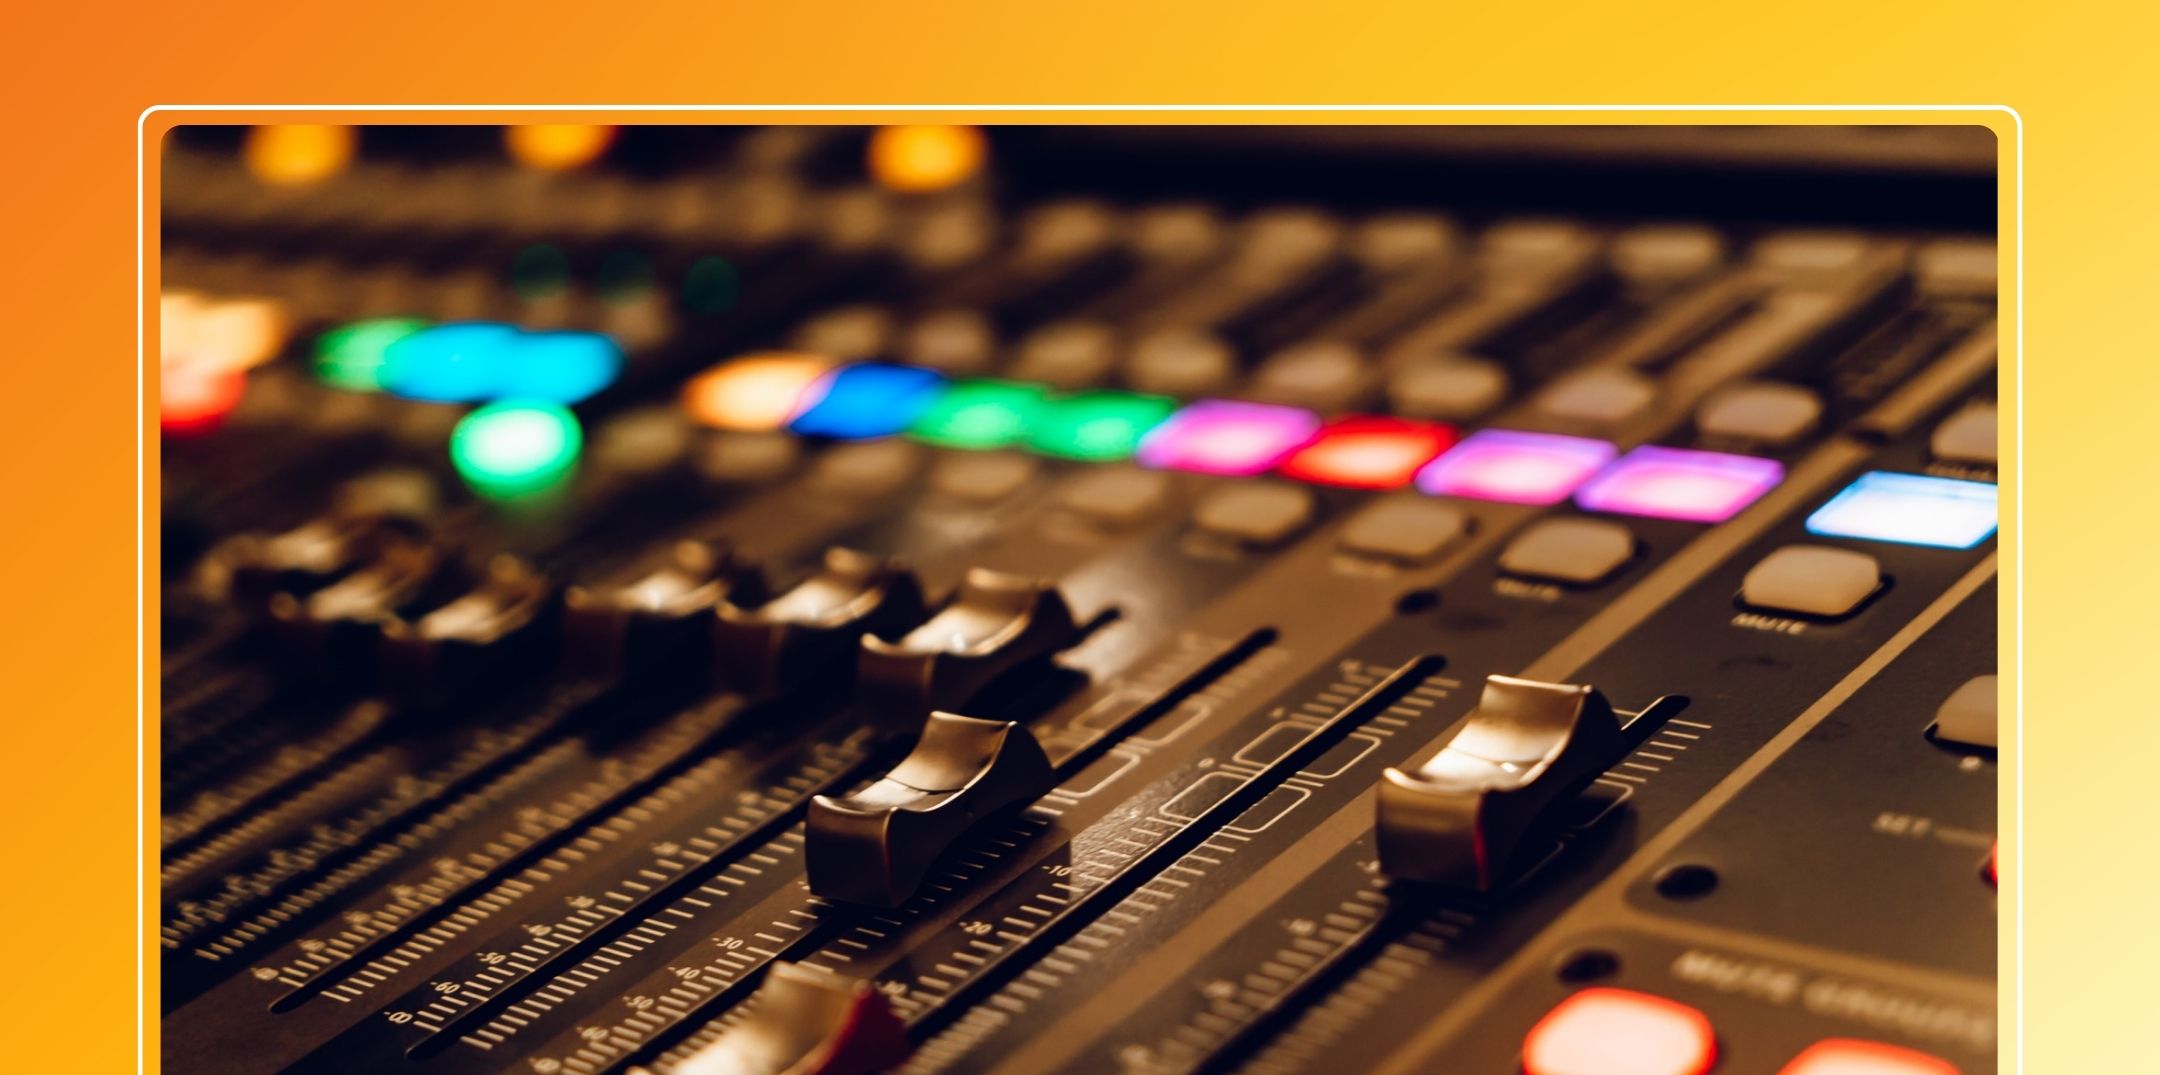
One such aspect is sound quality, which is integral to how professional your podcast sounds and how well listeners can actually follow along. No matter how good a podcast mic you have, it matters not if you record it in a poorly treated room.
The good news: You don’t have to invest in a home studio and expensive acoustic foam to sound like the pros. By applying the principles of acoustic treatment, even on a shoestring budget, you can significantly improve your audio quality.
This guide will show you what acoustic treatment is, and more importantly, help you to understand reverb and apply a solution in your homemade podcast studio setup at a relatively inexpensive cost.
Reverb(short for “reverberation”) is what’s left in the room after the original sound has been created. When you talk into the mic, your words don’t just go into the mic, they also bounce off walls, ceiling, floor, tables, and windows.
By using reverb, an effect can be created where it seems as if the mic is in one room, yet the recording is happening
Particularly in untreated rooms with hard surfaces, these reflections will return to the microphone after some milliseconds. This results in:
The issue of reverb is another common challenge for podcasters, especially those working at home.
Before delving into the solutions, a quick rundown of the three primary principles of acoustic treatment is necessary. These three principles each have a way of dealing with sound and are often confused with one another by people new to acoustic treatment.
Absorption minimizes reflections by soaking up sound. Porous surfaces prevent sound waves from reflecting around the room.
Examples of Absorptive Materials:
Absorption is the most important concept for podcasters who record vocals.
In the case of Diffusion, the diffusion scatters the sound waves evenly without absorbing them. This helps to cancel out harsh echoes and flutter while also ensuring a natural sound. Examples of diffusers:
Diffusion is preferred in bigger rooms or multi-host podcast recording studios, whereas absorption becomes more important in home environments, irrespective of room size.
Soundproofing: Soundproofing will help prevent any sound from entering or escaping the room. This will include traffic, family members, or any neighbor sounds.
Soundproofing always demands that
For most podcasters, soundproofing is costly and impractical. Rather, one must aim at acoustic treatment, not isolation.
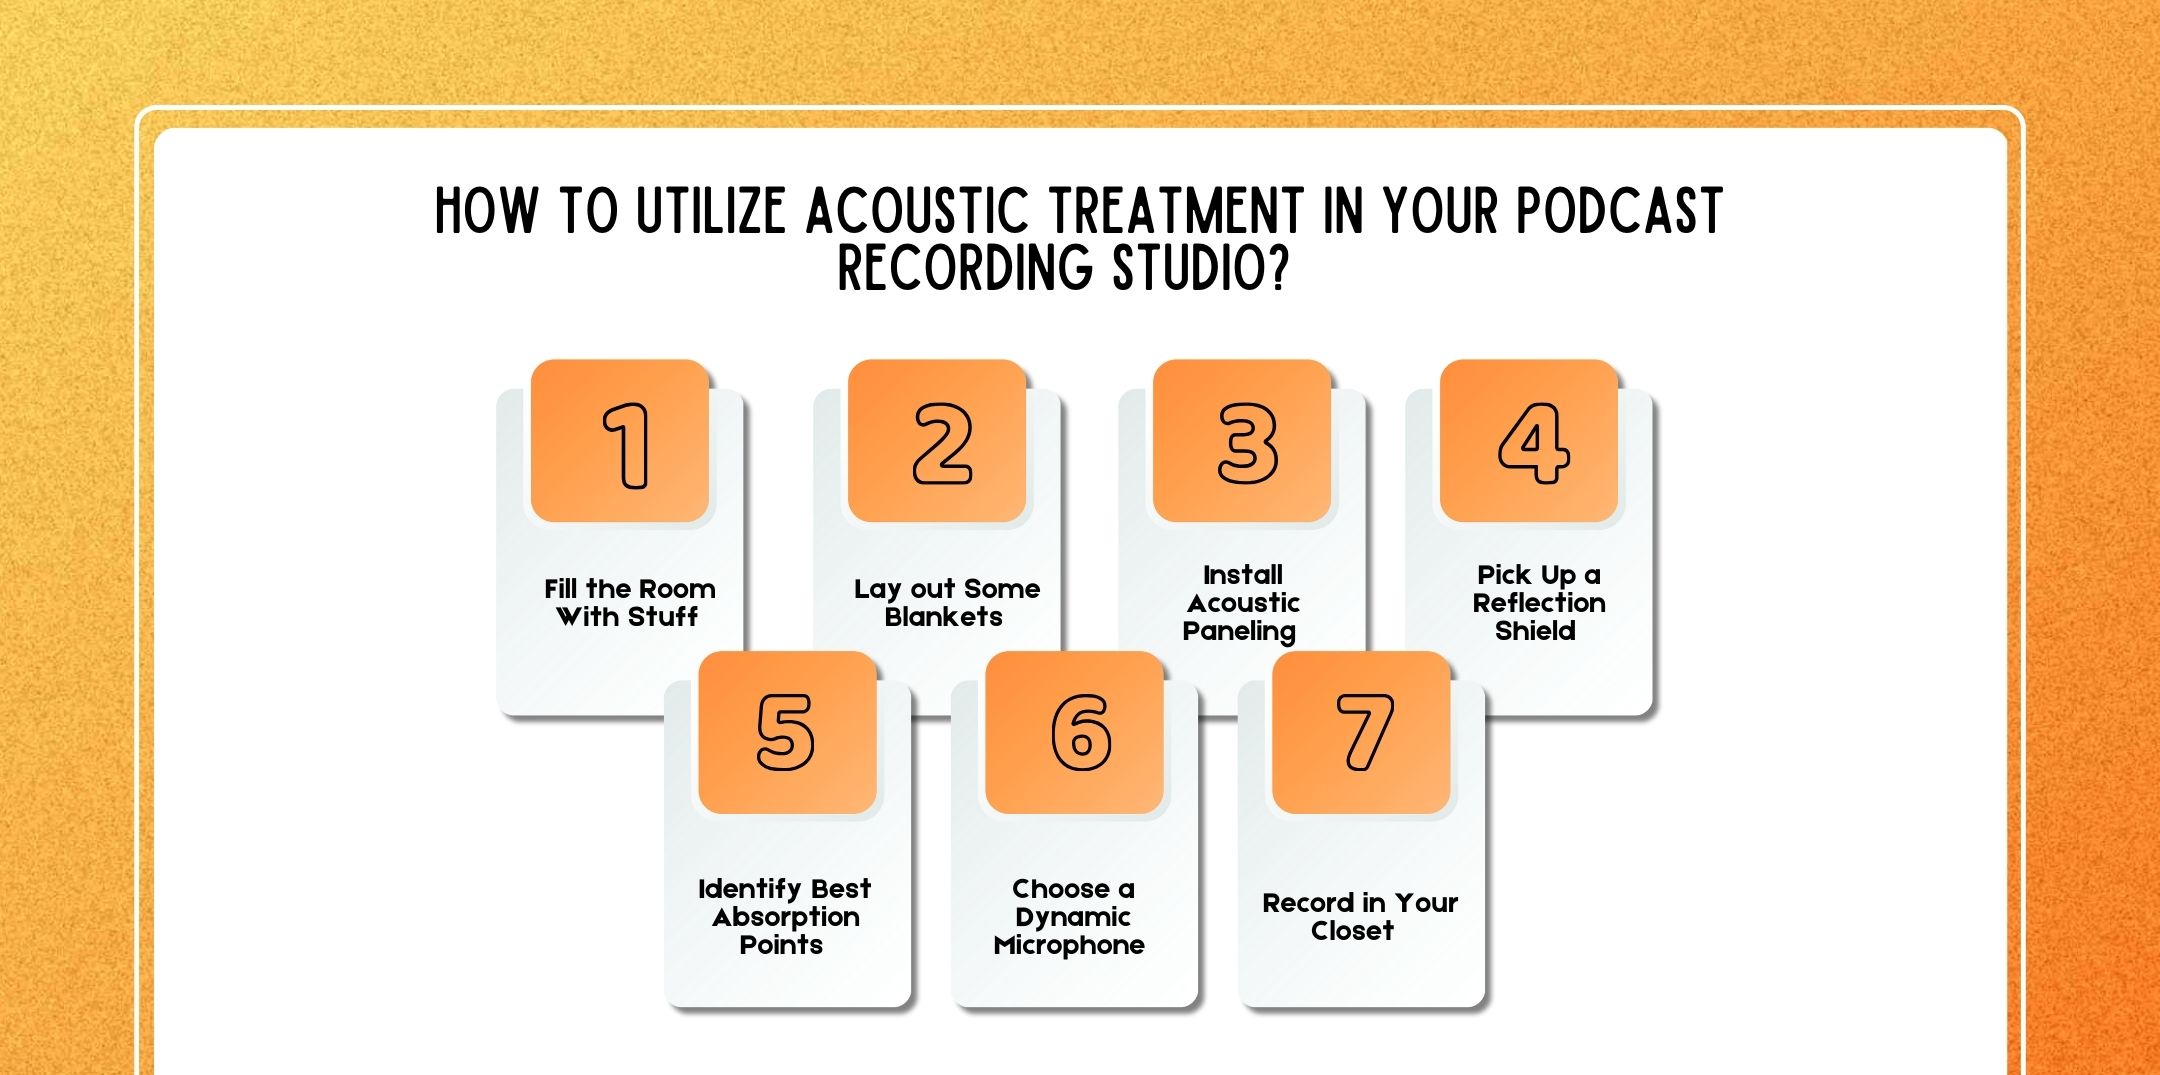
You don’t have to invest in expensive equipment—you simply need clever placement and a focused strategy.
Fill the room with stuff Blank rooms are no good for audio recording. Adding furniture is helpful in diffusing the audio sound.
Budget-friendly items that can be helpful:
An “lived-in” room is always preferable to an empty room.
Some of the most inexpensive acoustic treatment options available are thick blankets.
How to use them:
The moving blankets work well and cost very little.
If you are looking for a cleaner look, acoustic panels are a fantastic upgrade.
Budget tips:
There’s no need for panels on all walls; placement is more important than numbers.
A reflection shield is placed at the back of the microphone. It absorbs sound waves coming from the back. This prevents echo effects in sound.
Best for:
Although not a substitute for the treatment of a room, reflection shields can enhance clarity significantly when combined with absorption.
Main absorbent points are:
One quick test is this: clap your hands and listen for ringing or echoes. That is where absorption is most needed.
Selecting the best podcast mic is just as crucial as treating your rooms. Why Dynamic Microphones Are Useful
Some of the most common types of microphones include broadcast-style mics, which are commonly used by Podcasters.
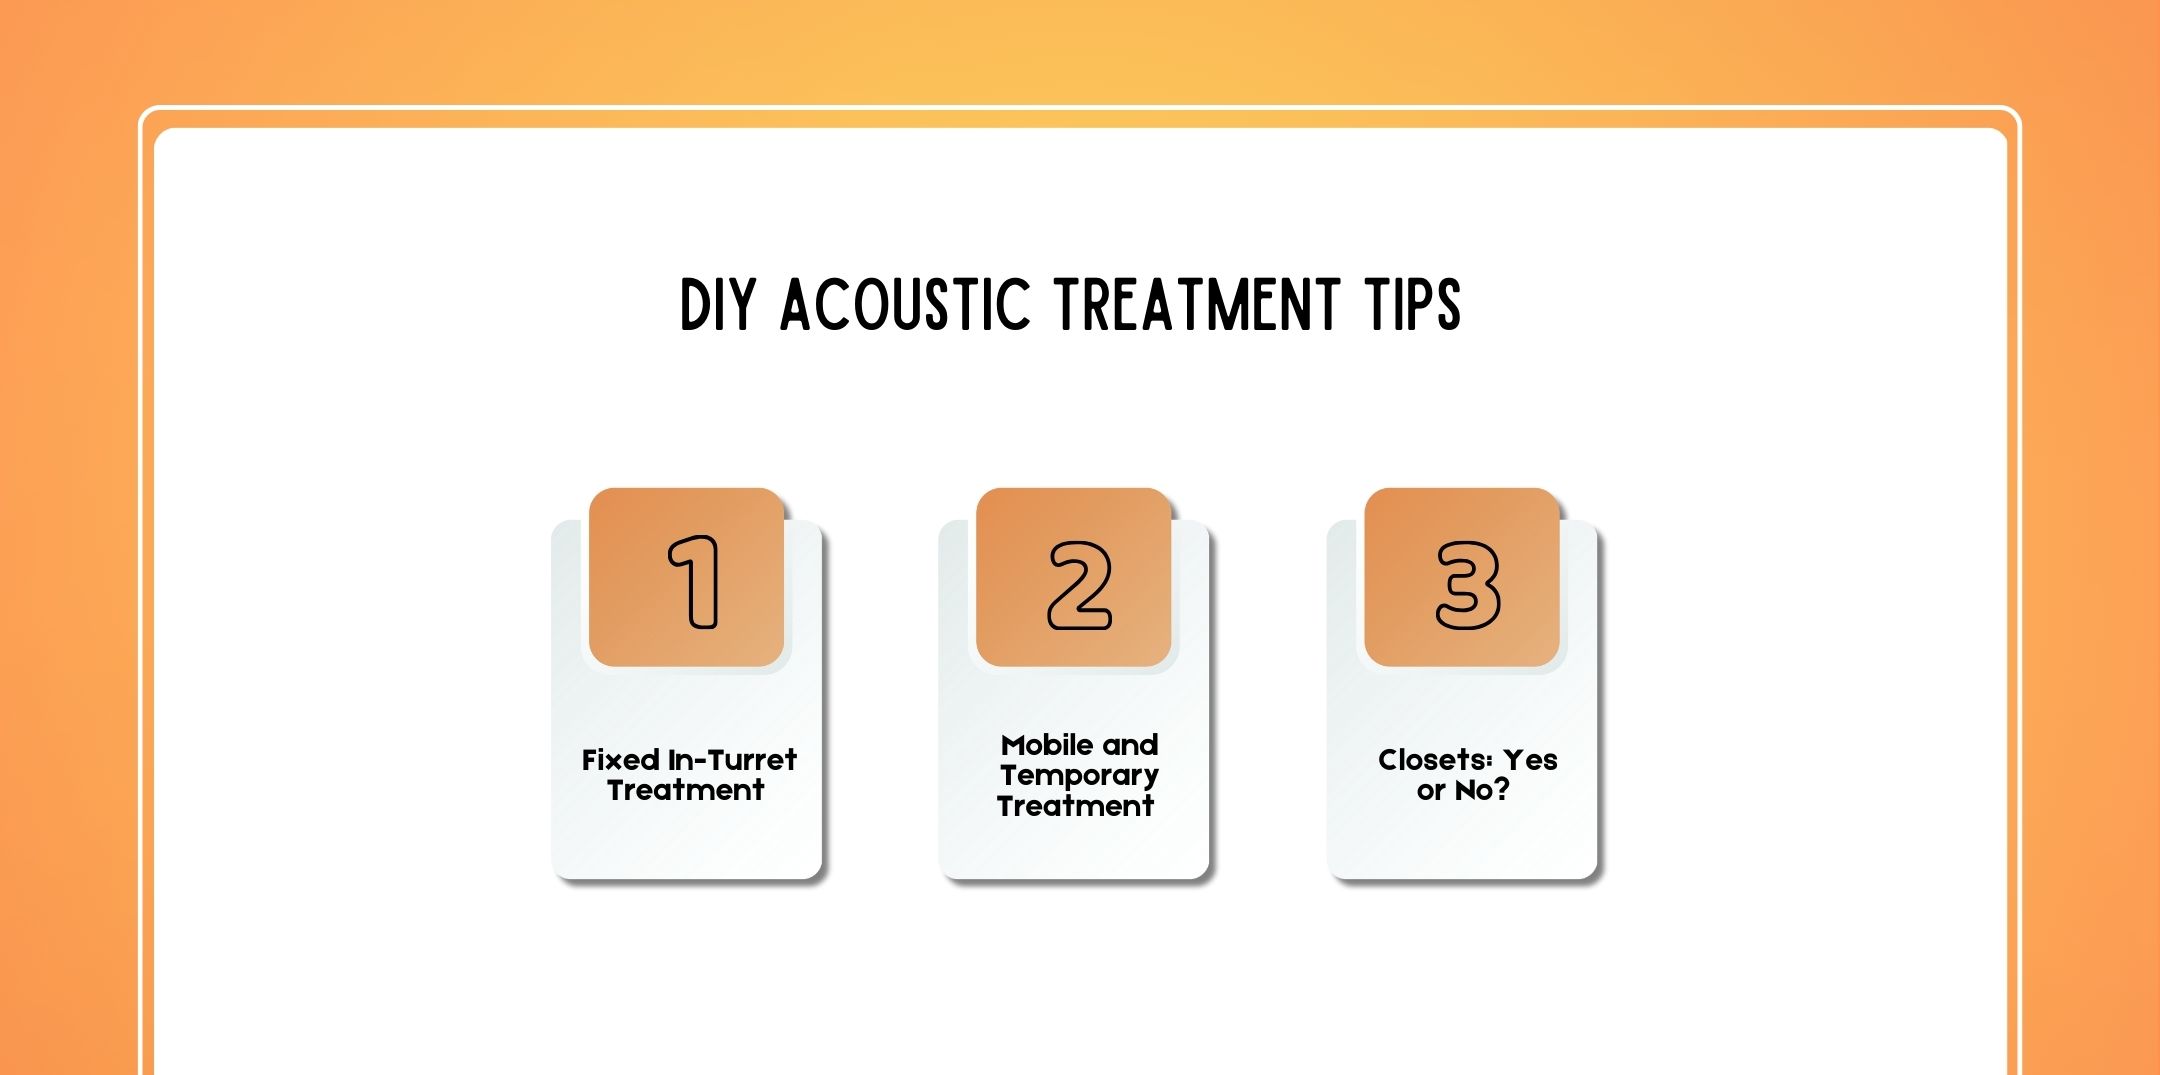
Closets make great podcast studios too.
Pros:
Cons:
Reverb is not necessarily a bad thing; it just needs to be controlled.
Instead of treating the whole room, think about doing the lighting in zones.
For most podcasters:
However, software such as Adobe Podcast can be employed to reduce noise, but it works best with quality raw audio.
Homemade solutions are usually no less effective than commercial ones.
Examples:
Designed for podcasters with a professional studio setup.
It is a significant aspect that you need to know about.
Examples:
Ideal for renters or podcasters to share rooms.
Yes, if:
No, if:
Closets are a great starting point, but not the only solution.
Acoustic Treatment and Podcast Growth/Application
Acoustic treatment clean audio enhances:
When you repurpose your content or make an audiogram for your podcast or social media posts, bad sound really shows. Having good sound on your show also makes your show more desirable to work with for potential collaborators searching through podcast resources or sponsors.
You don’t have to invest money in recording studios if you want professional audio. To upgrade their audio, podcasters should first learn about reverb effects, implement some acoustic treatment principles, and use ingenuity for home recording.
First and foremost, absorb, think about reflection, pick the right microphone, and learn to work WITH the room, not against it.
In conjunction with a solid message, an interesting idea for a podcast segment, and effectively promoting your podcast, proper acoustics makes an impact in an overcrowded environment such as the world of the podcast community.

Nabamita Sinha loves to write about lifestyle and pop-culture. In her free time, she loves to watch movies and TV series and experiment with food. Her favorite niche topics are fashion, lifestyle, travel, and gossip content. Her style of writing is creative and quirky.

Barsha Bhattacharya, 1 day ago

Barsha Bhattacharya, 1 day ago