
How to Get More Followers on TikTok: Proven Strategies for Sustainable Growth
Barsha Bhattacharya, 1 day ago
Podcasting is rapidly emerging as the most influential storytelling platform of the decade; from independent producers to large media organizations, everyone’s using audio to engage with audiences.
Great content is key, but sound quality that’s rock-solid will be what makes people keep listening in or stay tuned.
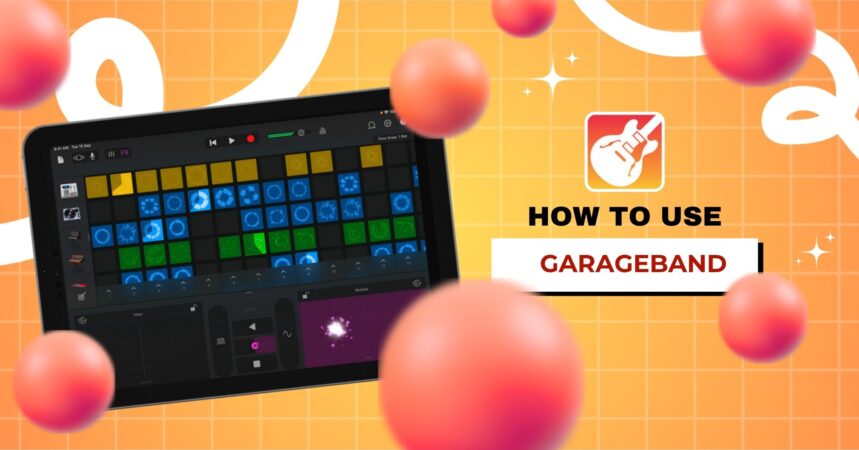
For Mac users, one application can cover it all: GarageBand. A jack-of-all-trades utility Digital Audio Workstation (DAW) titled GarageBand, pre-installed on all Macs for free, with a blend of convenience and pro-level features.
GarageBand is perfect for novices who need to create music in a hurry and professional producers who like to have an optimized, streamlined workflow. So, it is beneficial for you to know how to use GarageBand for podcasting.
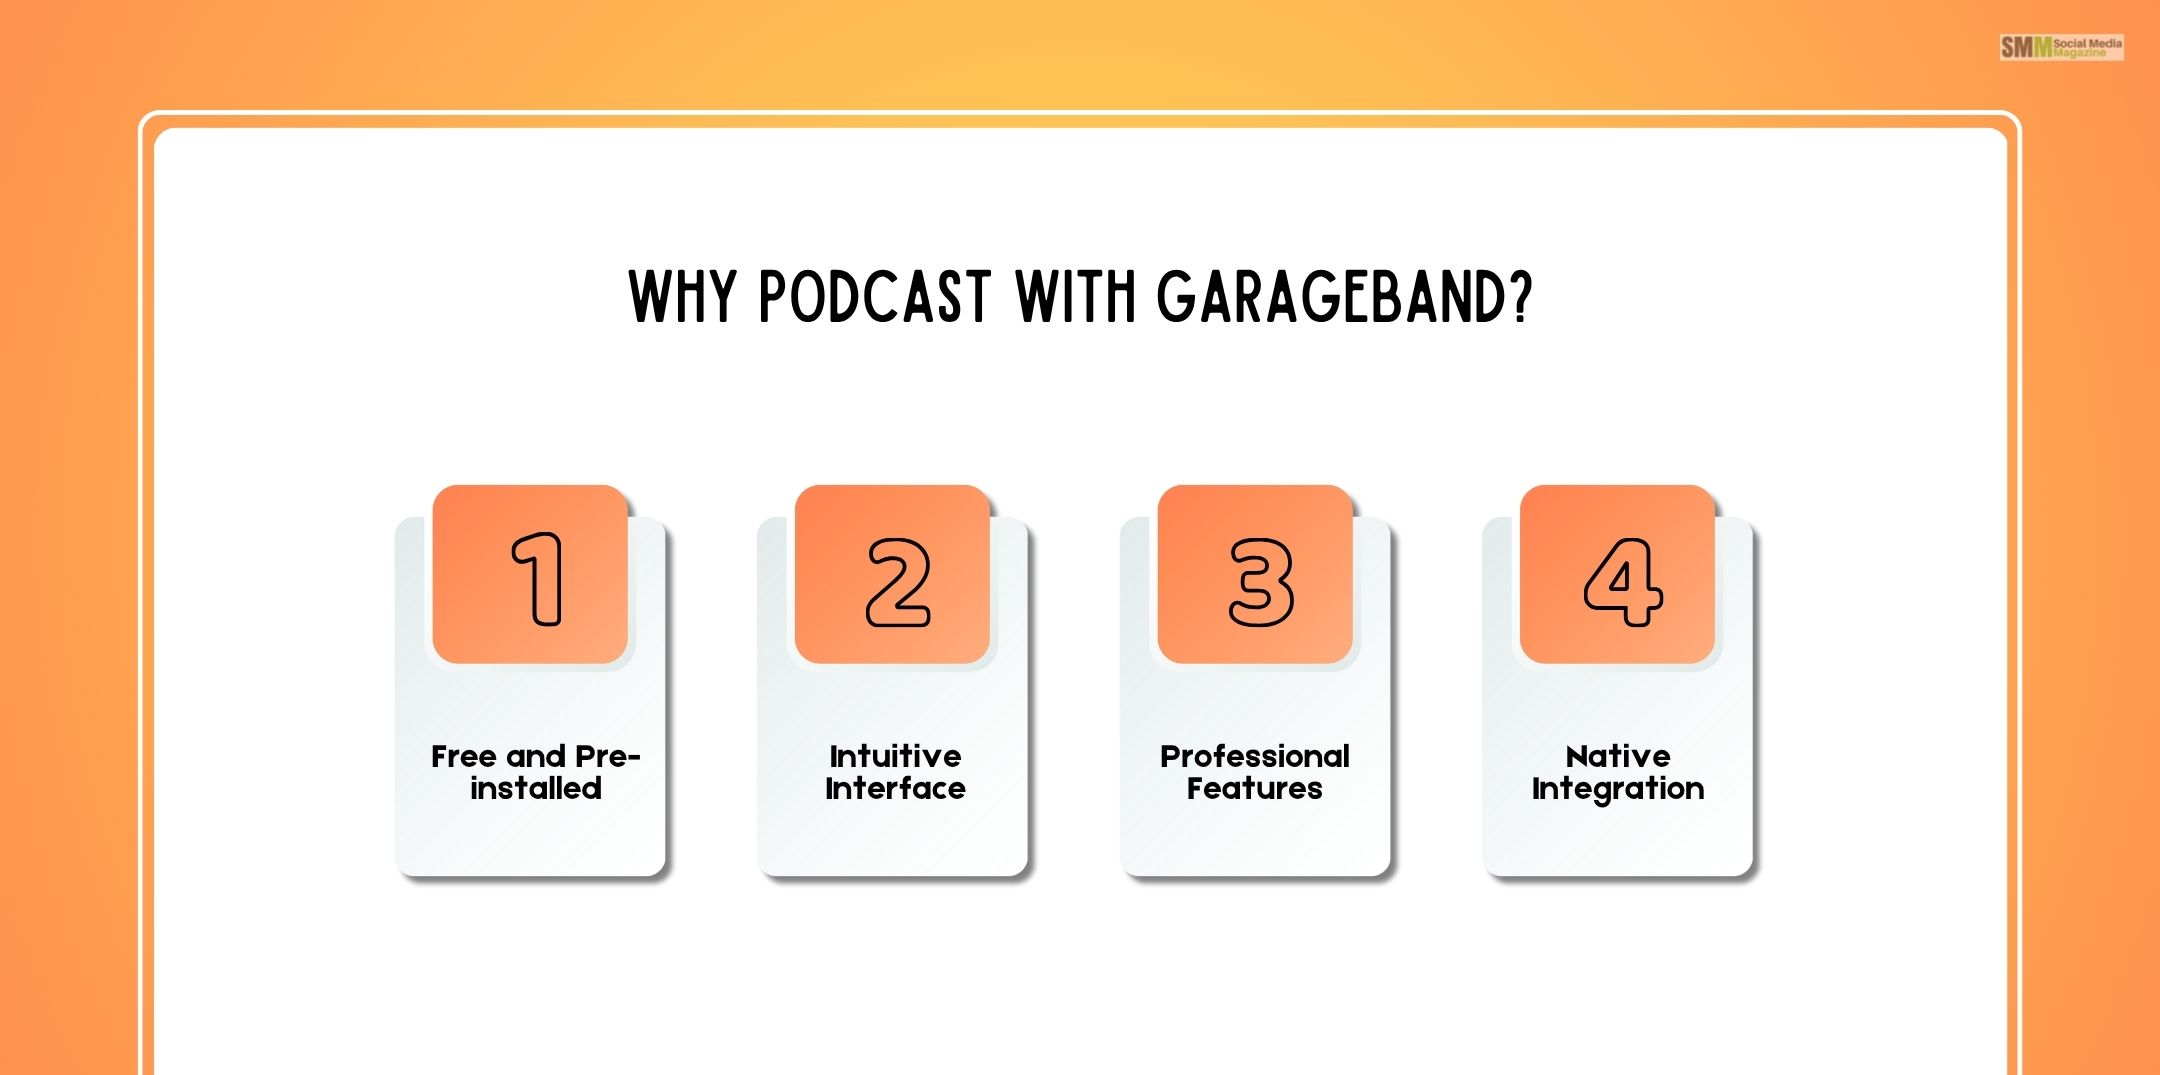
No matter what you record, whatever sounds crystal-clear and pro-sounding, podcasting without breaking the bank.
GarageBand can guide you through it from idea to release. Let’s take it step by step.

A successful recording session begins a long while before you press the “Record” button. Done right means clean sound, less noise, and fewer headaches when editing.
And it begins.
This setup gives you a fresh slate optimized for loops or recorded voice-over instruments.
Pro Tip: Name a project right away — i.e., “Episode_01_Interview_with_Alex.” Organizing your ducks in a row now saves you grief later when you’re chopping and changing many episodes.
GarageBand demands that you define what microphone or audio interface you’ll record into ahead of time.
Next:
A clean production saves your workflow. Here is a pleasant sequence for a podcast project:
| Track | Purpose |
| Track 1 | Host Voice |
| Track 2 | Guest Voice |
| Track 3 | Intro Music |
| Track 4 | Outro Music |
| Track 5 | Sound Effects / Bumper Clips |
To rename tracks:
Save as a Template: Ctrl + S Once your layout is in good order, save it as a Podcast Template to use on subsequent episodes. Just navigate to File > Save as Template.
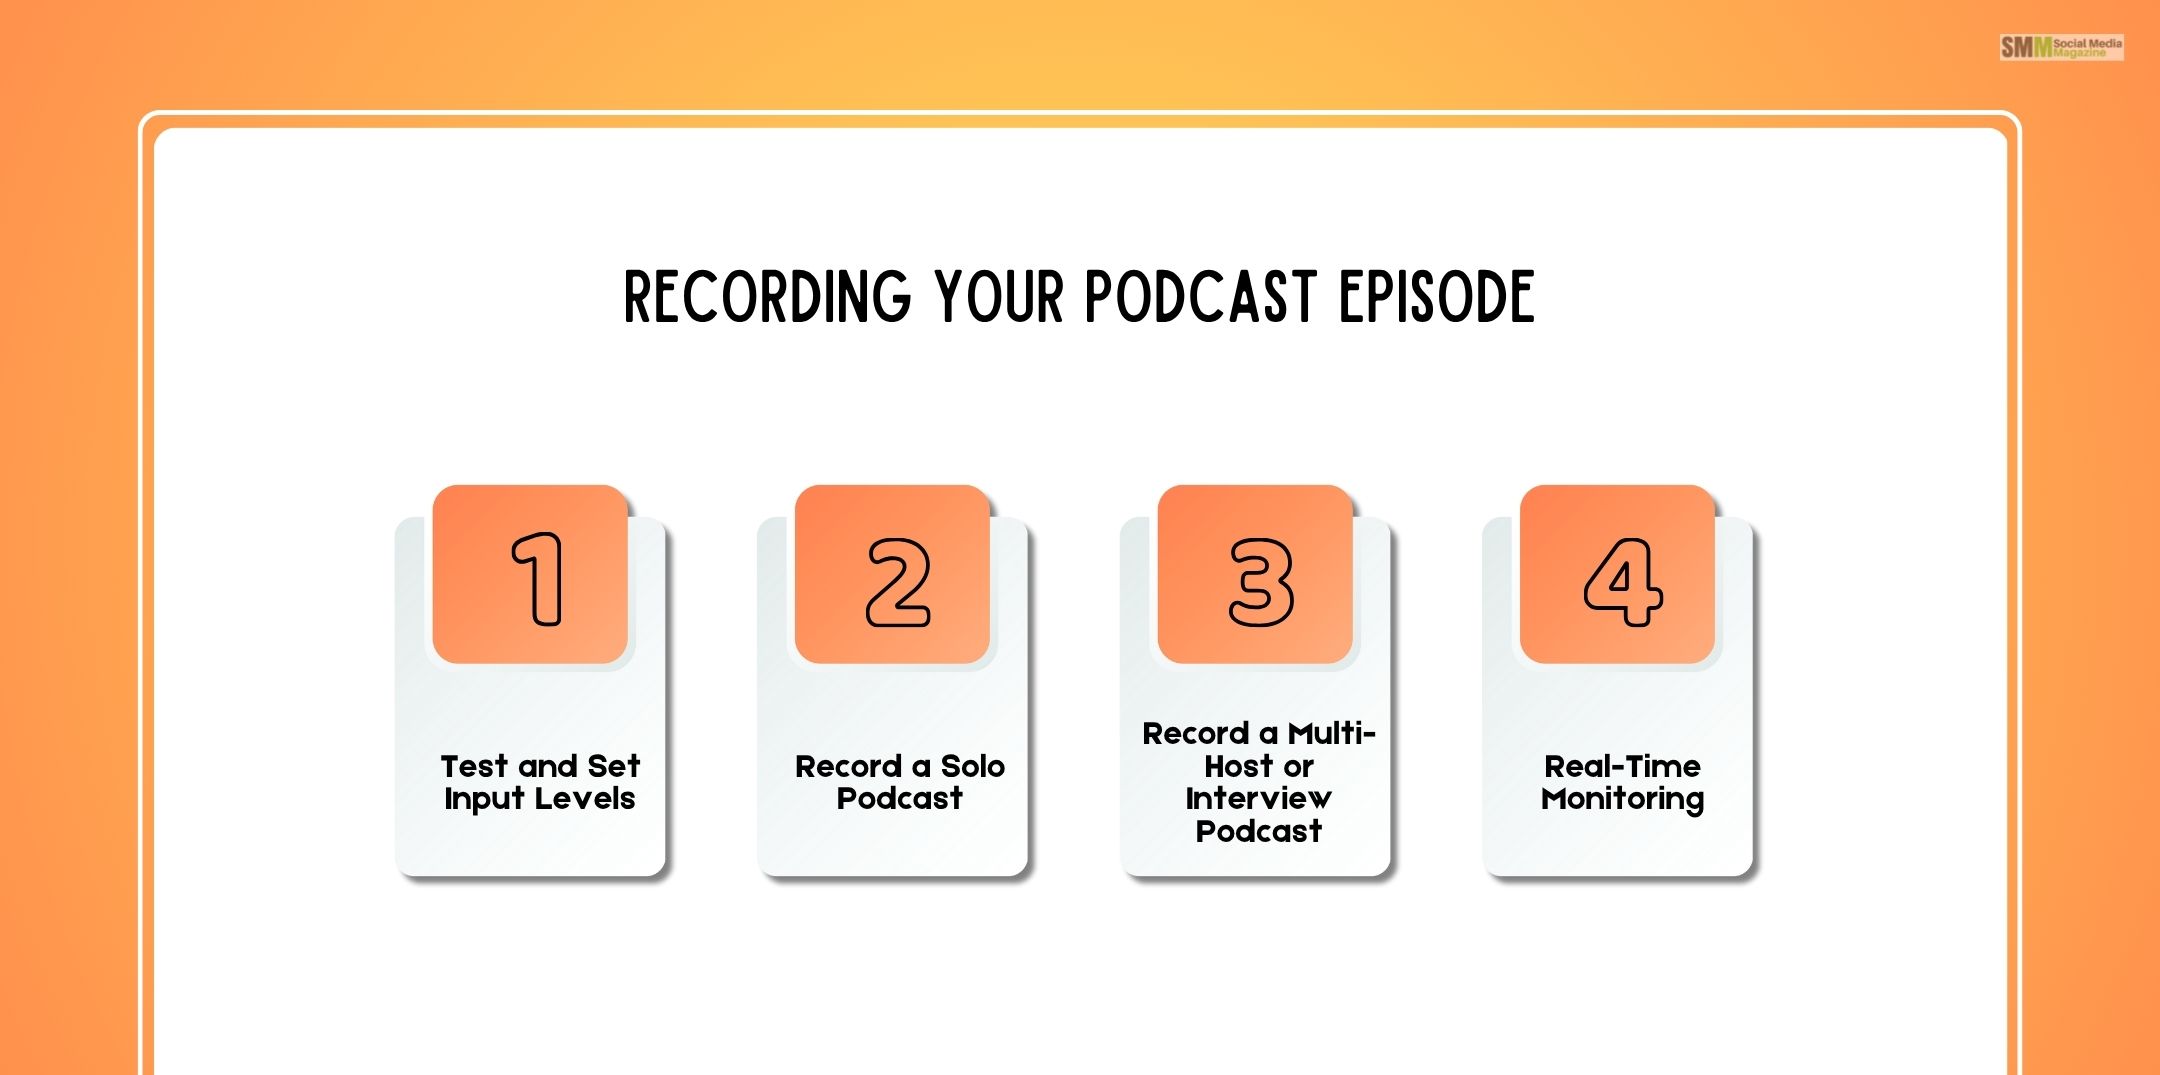
The throbbing blood of your production is being recorded. Recording a solo show or multi-player roundtable, GarageBand can do it — provided you have your work levels and workflow just right.
You can adjust input gain on your audio interface or in the Smart Controls window in GarageBand (shortcut: B).
Don’t worry if you bungle it — just roll with it. Edit later with no problems.
For multi-hosts:
This gives you accurate post-editing — you can switch off background hum from one speaker or tune each voice separately.
Also Check: 90+ Podcast Interview Questions To Ask (With Scripts, Follow-Ups & Niche Templates) – 2025
Always record with closed-back headphones (e.g., Audio-Technica ATH-M50x or Sony MDR-7506). This mutes your sound, enables you to pick up hums in the background, and gives you an even tone.
Don’t create feedback loops: Monitor levels ought to be kept at medium levels so the mic will not record headphone bleed.
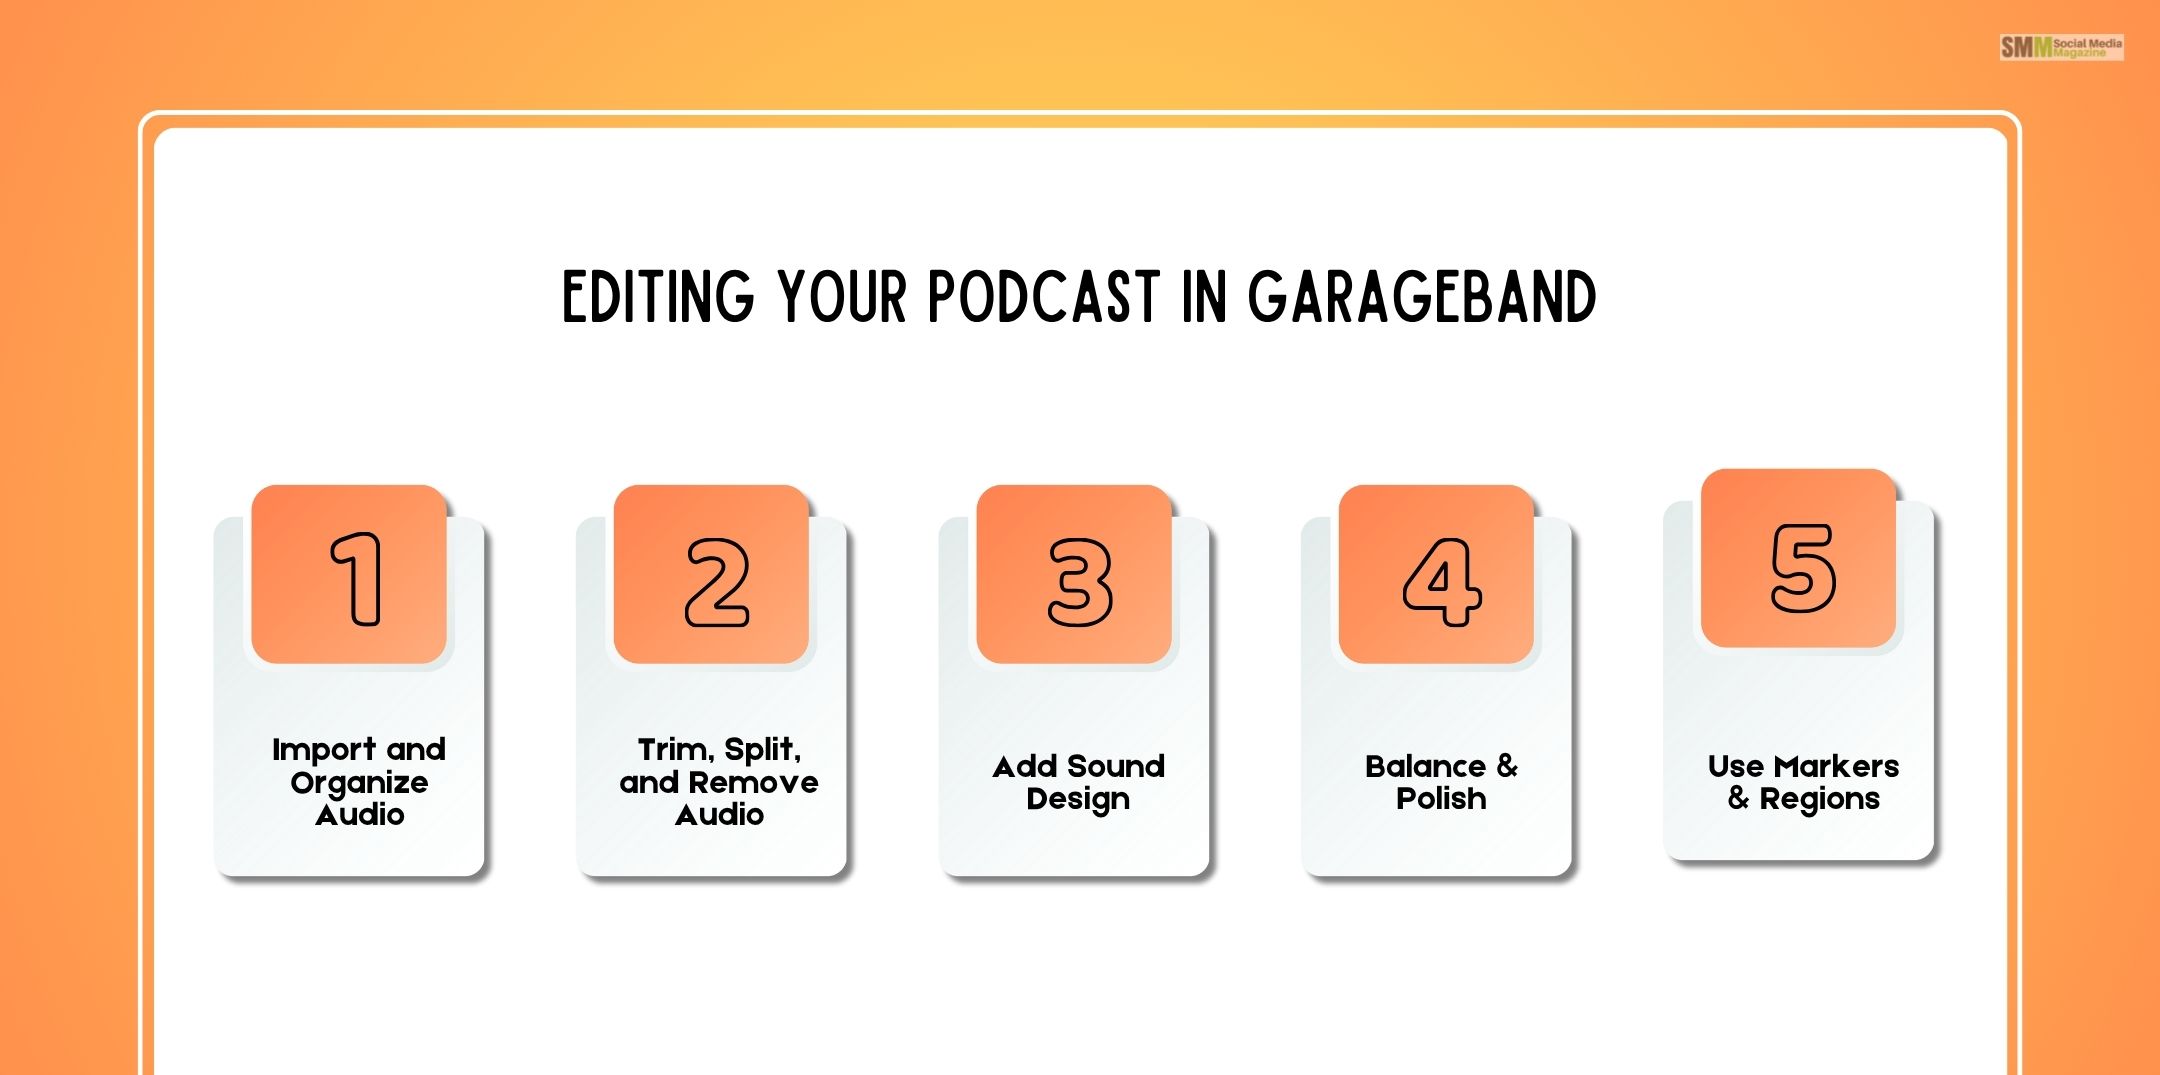
Now that you know how to use GarageBand, next comes the editing stage, where raw recorded audio is shaped into a refined episode. GarageBand’s visual, non-destructive interface makes editing an easy, hassle-free process.
Drag and drop unwanted sound — intro, adverts, or jingle — to the timeline. To get your project organized:
Use these for removing cringe pauses, background coughs, or multiple takes.
Pro Tip: Avoid editing natural pauses — tightly edited speech can sound unnatural.
Add atmosphere with subtle sound effects or music:
Use Royalty-Free Audio: Look for GarageBand’s Loop Browser or download from places like Pixabay, Epidemic Sound, or Artlist.
You can insert arrangement markers (Intro, Main Content, Outro) in GarageBand — ideal for multi-part podcasts. This makes it easy to jump between sections while editing.
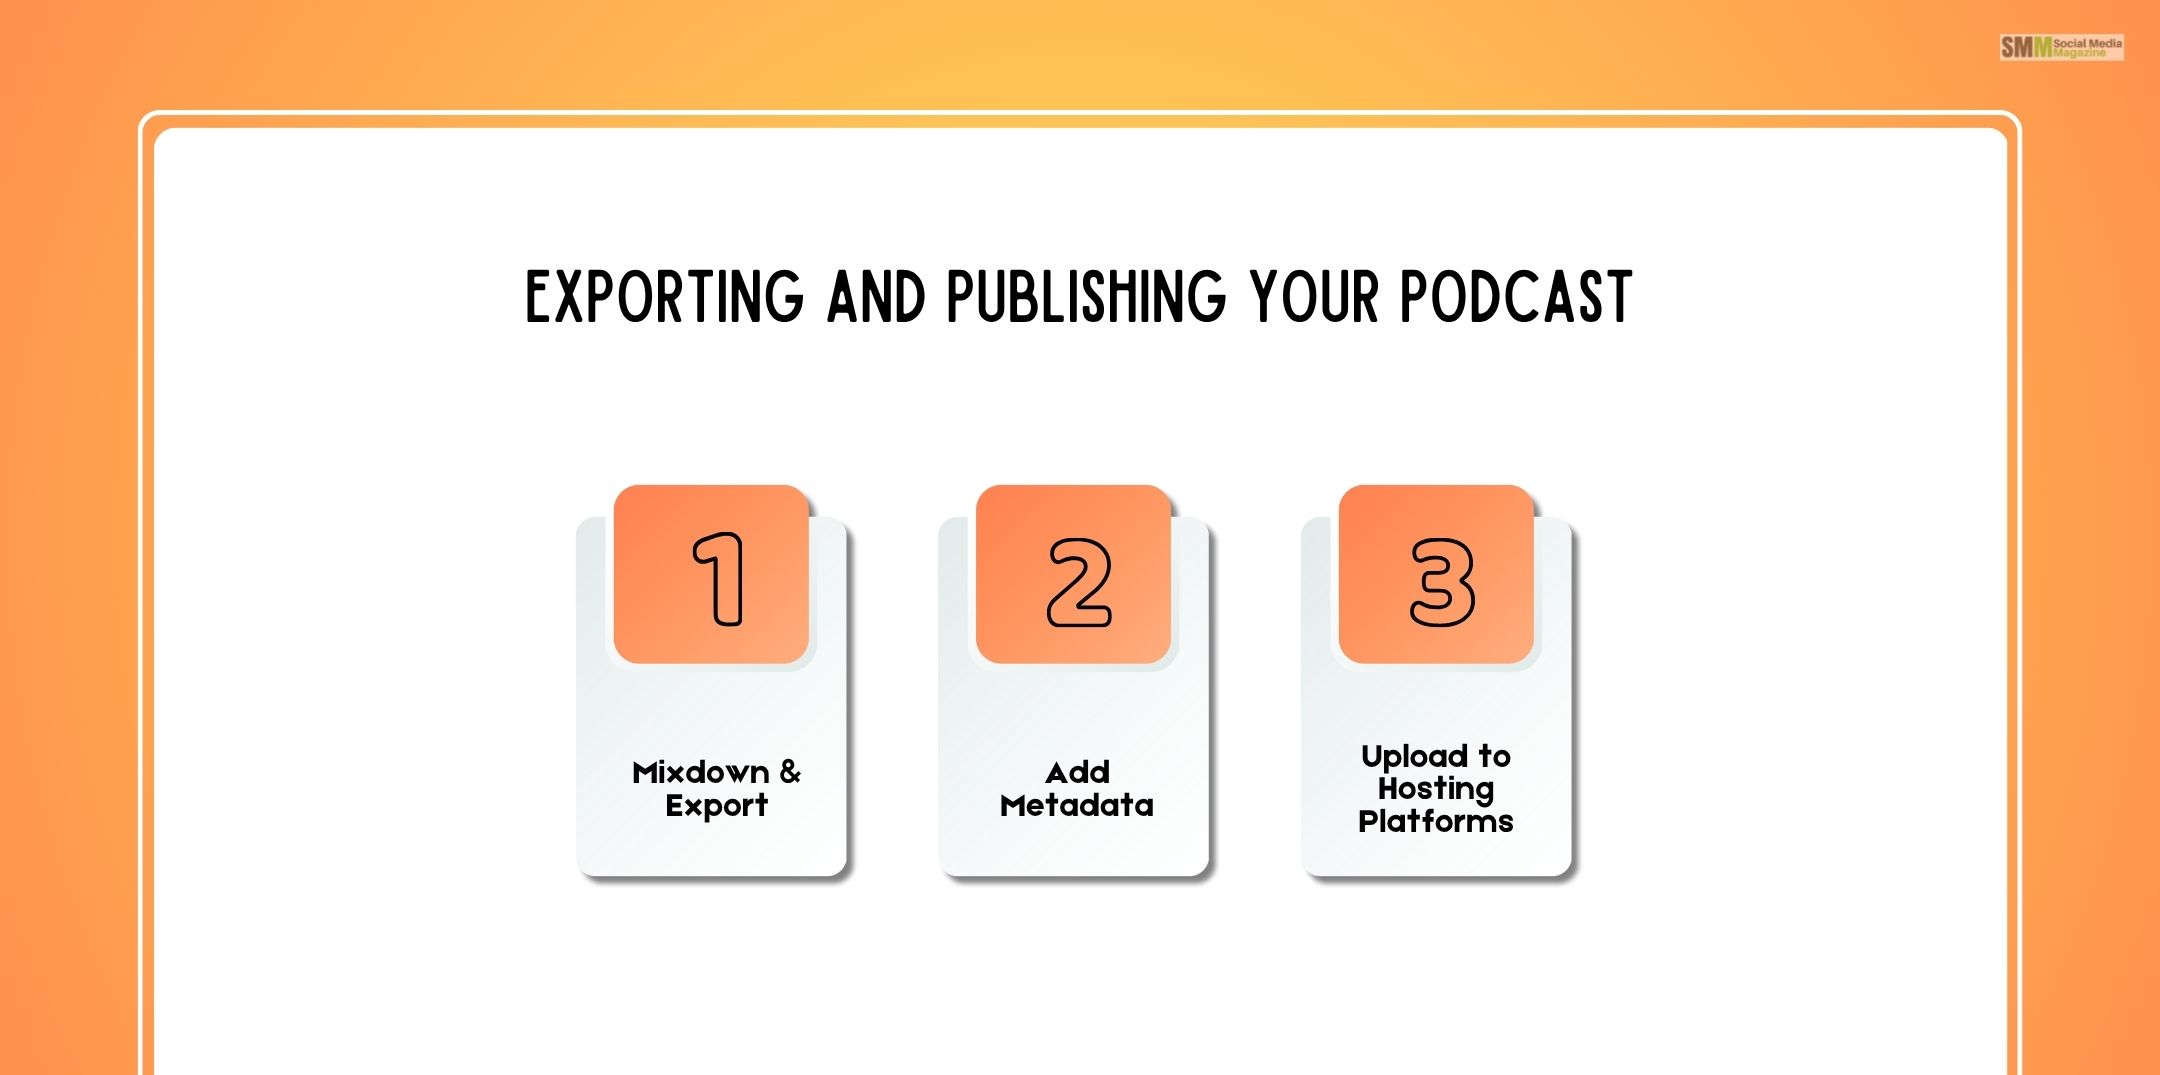
Now it’s time to release your podcast intro into the world.
Go to Share → Export Song to Disk.
Export Settings Recommended:
Adding correct metadata makes your podcast look professional everywhere. Add:
Use reliable podcast hosts like:
All of which, incidentally, automatically generate an RSS feed, which feeds your podcast to:
| Problem | Potential Cause | Solution |
| Audio Clipping | Input gain too high | Reduced input or distance from the mic |
| Latency | High buffer size | Preferences → Audio/MIDI → Set buffer size to 128 |
| Background Noise | Room echo, fans | Add rugs, blankets, or noise gate |
| Uneven Volume | Poor mic position | Compress and normalize sound |
| Missing Audio Files | Project files copied | Keep all assets in one project folder |
Bonus Tip: Save a backup copy of your project before making any major edits.
Here are a few questions and queries that others have asked on the topic of how to use GarageBand that might be helpful for your information.
Minimum: a USB mic, closed-back headphones, and your Mac. Better quality: an audio interface and pop filter.
Record locally and get your guest to record locally using Riverside.fm or Zencastr. Mix tracks while editing.
Utilize the Noise Gate or Channel EQ filters. Clean up audio too, using third-party software such as Audacity or Auphonic.
MP3, 128–192 kbps, 44.1 kHz, and normalization.
Drag music tracks into individual tracks, separate them, and create fade-ins/outs with automation.
Yes. Many independent producers and artists use it. It’s especially suited for narrative and interview-driven shows.
Put each episode in a different folder with subfolders for raw files, artwork, and exported files.
Recording too hot, not muting the metronome, or micing to mono by mistake.
Yes – iOS GarageBand does multitracking records and syncs with your Mac over iCloud.
Host on a platform like Anchor (Spotify for Podcasters), and it automatically gets pushed to Spotify.
GarageBand remains one of the cheapest, most affordable, and powerful podcasting software packages around in 2025.
Recording outside the bedroom, shared office space, or small studio, this Apple-designed DAW offers you the ability to craft clean-sounding, well-mixed, and compelling sound without a costly learning outlay or expense.
From installation to final export, you can record, edit, mix, and share a full episode — all within one environment. Grasp your mic, now that you know how to use GarageBand, and begin recording your first tale. The world awaits yours.

Nabamita Sinha loves to write about lifestyle and pop-culture. In her free time, she loves to watch movies and TV series and experiment with food. Her favorite niche topics are fashion, lifestyle, travel, and gossip content. Her style of writing is creative and quirky.

Barsha Bhattacharya, 1 day ago

Barsha Bhattacharya, 1 day ago