
How to Get More Followers on TikTok: Proven Strategies for Sustainable Growth
Barsha Bhattacharya, 2 days ago

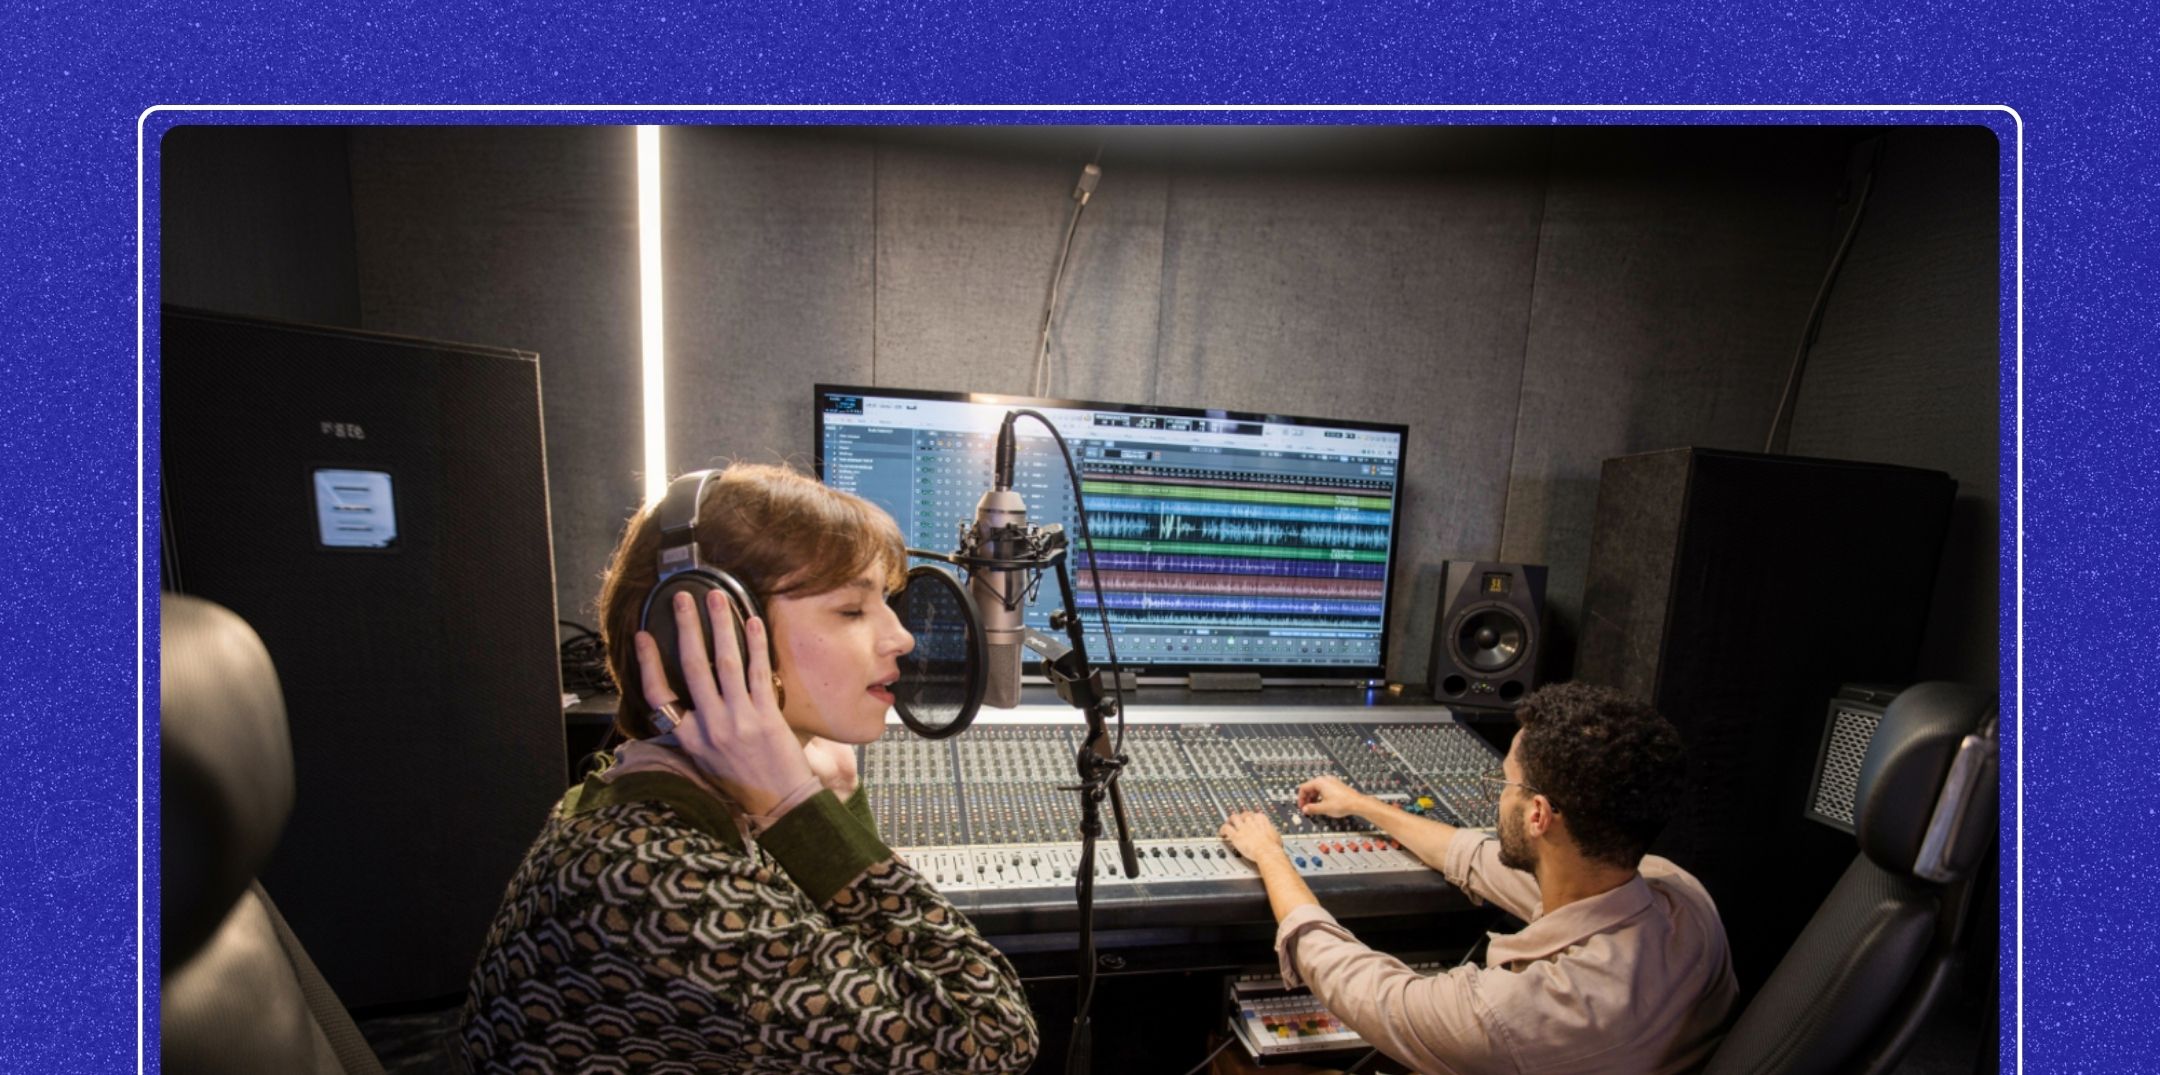
Audio compression is one of the most powerful tools in Audacity and one of the easiest to misuse if you don’t understand how it works.
When used correctly, the Audacity compressor makes voices clearer, balances loud and quiet sections, and gives podcasts a professional, broadcast-ready sound.
Whether you’re editing interviews, solo podcasts, voice-overs, or narrative content. Afterall learning how to use compression properly can dramatically improve your listener experience.
In this in-depth guide, you’ll learn exactly how to use the compressor in Audacity. Meanwhile, what each setting means, and how compression fits into a complete podcast production workflow.
Along the way, we’ll also connect compression to real-world podcasting topics such as audacity to normalize audio.
Audio compression reduces the difference between the loudest and quietest parts of an audio recording.
Instead of turning everything up or down equally (like normalization), compression selectively reduces loud sounds so that quieter sounds can be heard more clearly.
In podcasting, compression is essential because human speech naturally varies in volume. Compression smooths these variations while making audio easier and more comfortable to listen to, especially on headphones or in noisy environments.

Compression isn’t always necessary, but it’s highly recommended in many situations.
For podcasters tracking performance through Apple Podcast analytics, consistent loudness helps improve listener retention and episode completion rates.
Follow these steps to apply compression correctly:
Audacity will automatically reduce loud peaks and balance the audio based on your settings.
The compressor effect includes a line graph that visually represents how audio levels are reduced.
When compression is applied, the line bends downward after the threshold, indicating that loud sounds are being reduced.
This visual feedback helps you understand how aggressive or gentle your compression settings are.
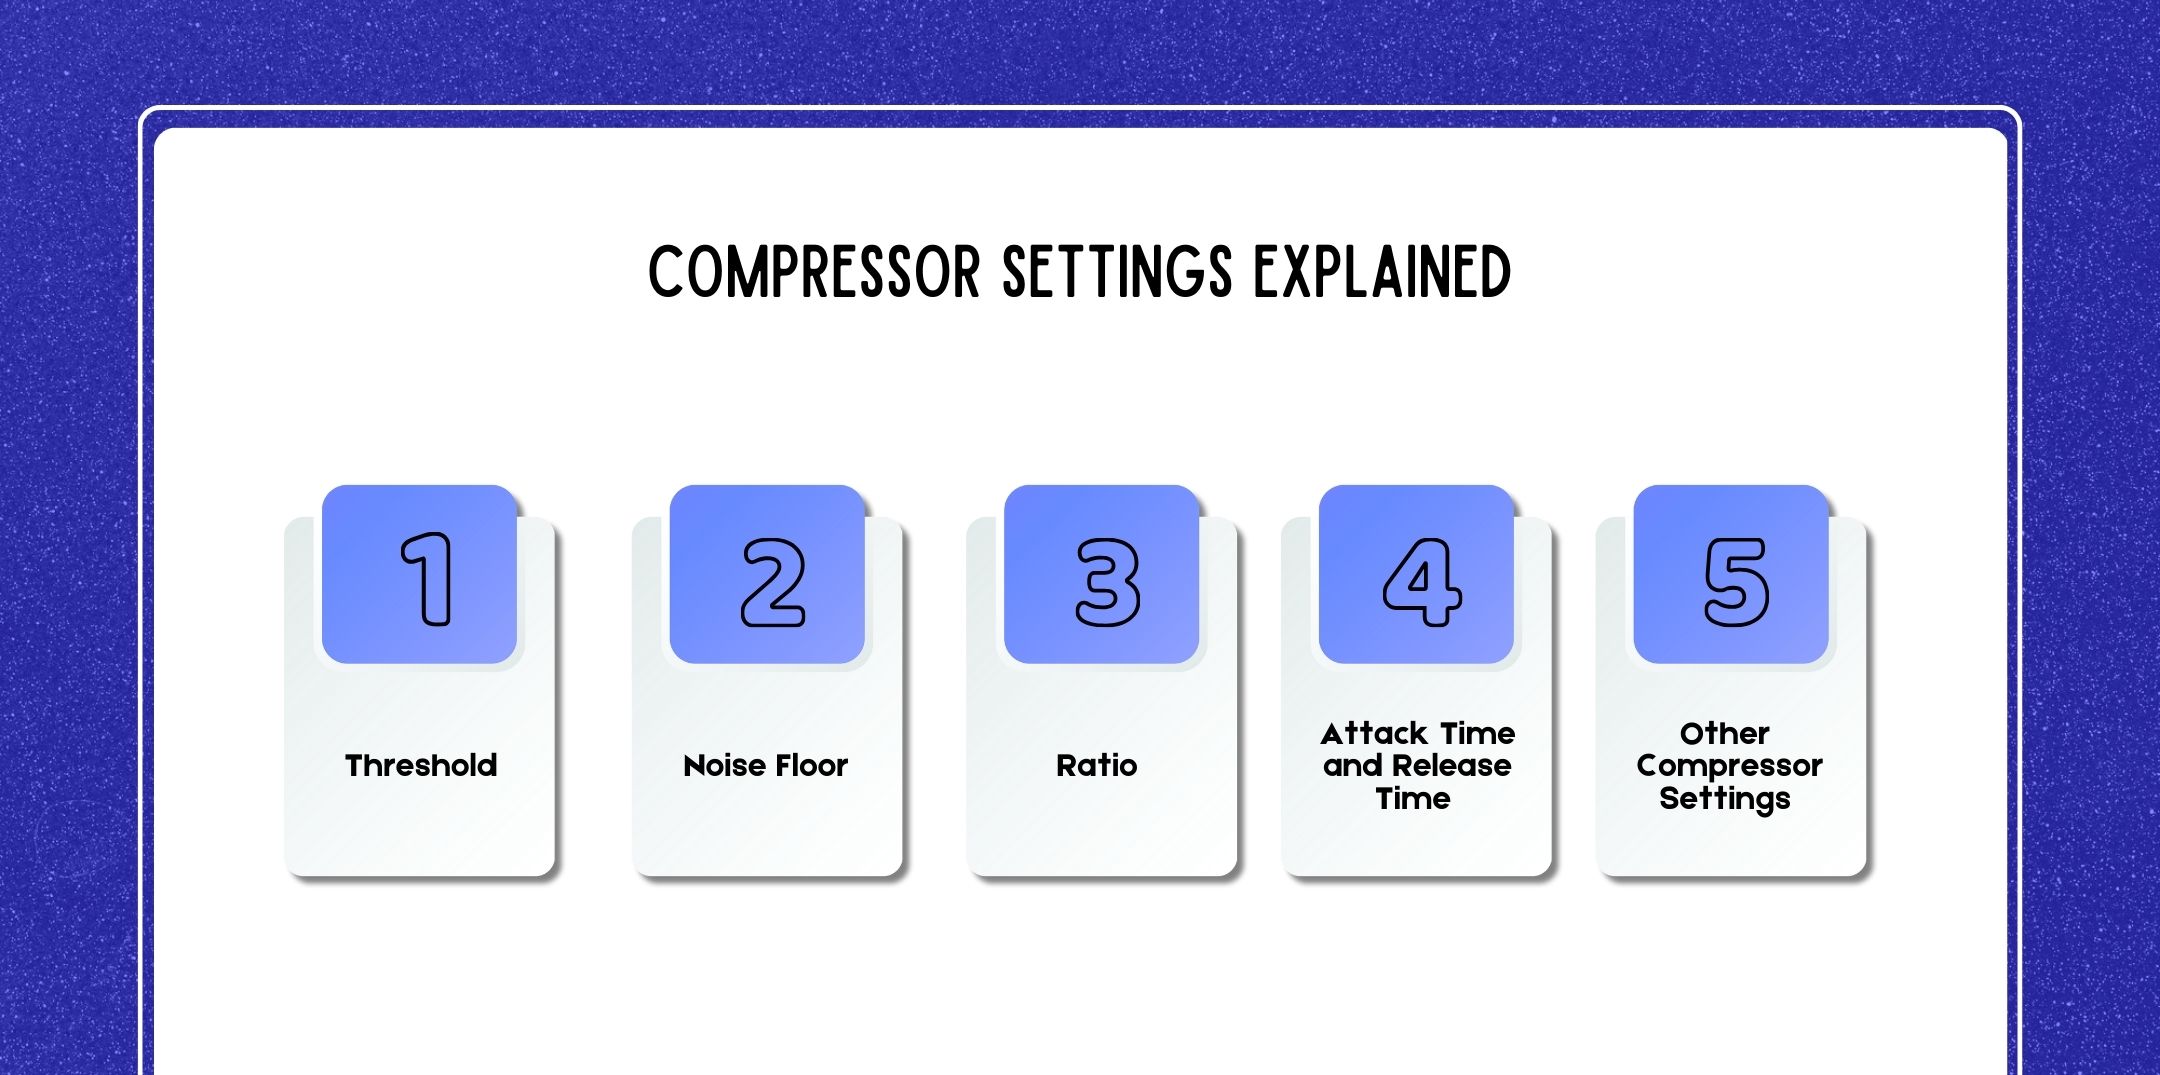
Understanding each setting is the key to using compression effectively.
The threshold determines the volume level at which compression begins.
Lower thresholds result in more compression, while higher thresholds apply compression only to louder peaks.
The noise floor sets the level below which audio is ignored by the compressor.
Typical noise floor settings range from -40 dB to -60 dB.
The ratio controls how much compression is applied once audio exceeds the threshold.
Most podcasters find 3:1 or 4:1 ideal for natural-sounding speech.
These settings control how quickly compression responds.
Typical attack times: 0.2 – 1.0 seconds
Typical release times: 0.5 – 1.5 seconds
Balanced attack and release times help avoid pumping or unnatural volume shifts.
Audacity also includes additional options:
Most professionals disable make-up gain and instead use audacity normalize audio after compression for precise control.
Over-compression can make audio sound unnatural, flat, or fatiguing.
Professional editors at the best podcast editing and production companies prioritize subtle compression over aggressive processing.
The Preview button is one of the most important tools in Audacity.
Previewing prevents irreversible mistakes and helps you train your ears.

Compression and normalization work best together:
This workflow ensures consistent loudness without distortion, ideal for uploading to a podcast website, monetizing via podcast apps for advertising, or preparing for Pandora podcast submission.
High-quality audio directly impacts credibility, growth, and long-term earnings—an important factor when considering how much do podcasters make.
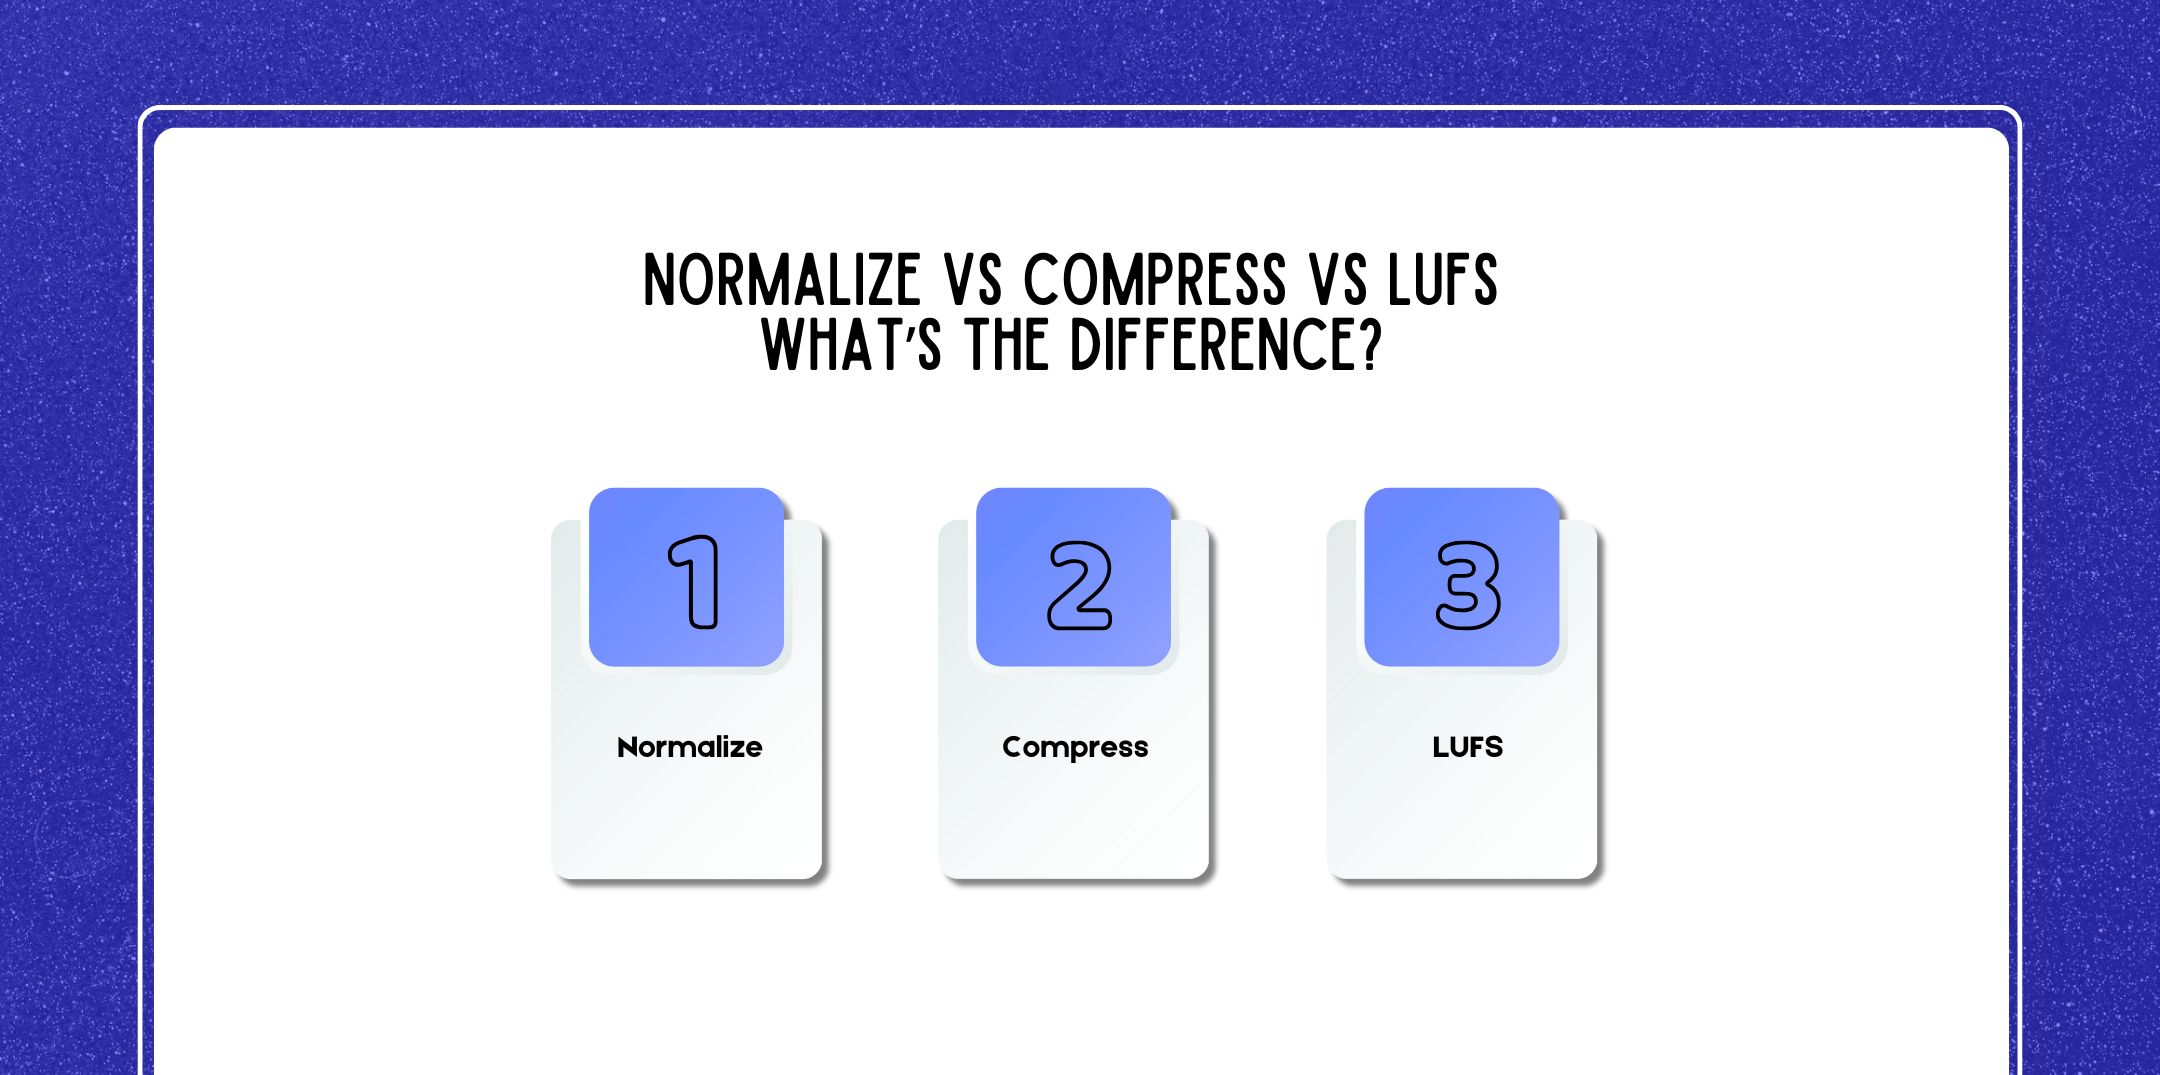
Understanding the difference between normalization, compression, and LUFS loudness is essential for producing professional podcast audio. Each tool serves a different purpose, and knowing when to use them will dramatically improve your results.
What it does:
Normalize adjusts the overall volume so the loudest peak reaches a specific level (for example, -1.0 dB).
What it does NOT do:
It does not change the dynamic range or balance loud and quiet parts.
Best use cases:
Common settings:
What it does:
Compression reduces the difference between loud and quiet sounds by lowering peaks and raising perceived loudness.
What it does NOT do:
It does not automatically set the final output loudness.
Best use cases:
Common settings:
What it does:
LUFS measures perceived loudness over time, not just peaks. Many streaming platforms use LUFS standards.
What it does NOT do:
Audacity does not natively normalize to LUFS without plugins.
Common podcast targets:
In a professional podcast workflow:
This workflow is widely used by best podcast editing and production companies.
Here are a few questions and queries on the topic of the Audacity compressor that others have asked and might be helpful for you at the same time.
While not mandatory, compression is highly recommended. Podcasts without compression often sound uneven, forcing listeners to constantly adjust volume. Compression improves comfort and professionalism.
No. Normalization only adjusts peak volume. It cannot balance loud and quiet speech. Compression and normalization serve different purposes and work best together.
Skipping normalization may result in episodes that are too quiet or inconsistent across platforms, negatively impacting listener experience and Apple Podcast analytics.
Yes. Music usually requires gentler compression or none at all. Voice tracks benefit most from compression, while music is typically lowered manually or via the Envelope Tool.
This usually means over-compression. Reduce the ratio, raise the threshold, or lengthen attack and release times.
Yes. Compression raises quieter sounds, including noise. As a result, always apply noise reduction before compression.
Yes. While many successful podcasters rely on Audacity alone. As shows scale, some creators collaborate with best podcast editing and production companies, but Audacity remains an industry-respected tool.
They use subtle settings, preview frequently, and rely at the same time on multiple light processing steps instead of one aggressive effect.
For podcasts, it’s best to compress each voice track individually before mixing and normalizing.
Advertisers prefer clear, consistent audio. Also, moderate compression (3:1 ratio) followed by normalization to -1.0 dB is common on podcast apps for advertising.
Indirectly, yes. However, better audio increases listener trust, retention, and sponsor interest as key factors in how much do podcasters make.
LUFS is important for platform consistency, but peak normalization is still necessary during editing. As a matter of fact, LUFS checks usually come last.
In general, Audacity does not include native LUFS normalization, but plugins can provide LUFS metering.
By all means, do all major edits first (cuts, fades, clip movement). Also, apply compression once the structure is finalized.
In order to listen on headphones, speakers, and a phone. Good compression should feel natural, not noticeable.
While not a formal requirement, professionally processed audio is favored during reviews such as Pandora podcast submission.
While you continue improving your audio production skills, explore:
In conclusion, learning how to use the compressor in Audacity is a game-changing skill for podcasters and audio creators.
When applied thoughtfully, compression enhances clarity, consistency, and professionalism, at the same time helping your content stand out in a competitive podcasting landscape.
When combined with normalization, smart editing, and strategic distribution, while compression plays a critical role in producing content that listeners and advertisers trust.

Nabamita Sinha loves to write about lifestyle and pop-culture. In her free time, she loves to watch movies and TV series and experiment with food. Her favorite niche topics are fashion, lifestyle, travel, and gossip content. Her style of writing is creative and quirky.

Barsha Bhattacharya, 2 days ago

Barsha Bhattacharya, 2 days ago