Reclaiming The Screen: The Radical Strategy On How To Turn Off Active Status On Instagram
sibashree bhattacharya, 4 hours ago

How to repost a story on Instagram?
Now, this question may look trivial to you, as we have friends tagging us in their stories. Once we get the notification through direct messages, we can easily add the same post to our Story.
However, what if the specific person or the brand account has not tagged you? What if you are doing it for a client?
The mechanics are simple.
However, when you are reposting a story for your client at 9 AM with your coffee getting cold, you need to be disciplined and do it “Well.”
That means the mechanics are simple.
However, you have to share the story in a way that protects your brand and credit the right people, and actually driving clicks is a different skill entirely.
Here, I have discussed different situations you will run into while reposting a story.
I am also including the safe-zone rules, video specs, and tracking metrics I use with my own clients.
In addition, I will talk about what has changed on Instagram recently that affects how reposting works today.
When someone says “Repost a Story,” they mean any of the following three actions.
| Actions | What It Means |
|---|---|
| Adding a tagged mention to your Story. | Someone tags your account, and Instagram gives you a native “Add to your story” button. |
| Resharing content you were not tagged in | You like something a customer or partner posted. However, there is no tag. So there is no native repost button. |
| Reusing your own past Stories | Pulling a high performer out of your Archive to run it again. |
Each action has a different workflow, and each of them demands different rules around permission and credit.
Sharing the tagged reposts is the easiest. Non-tagged reposts take a little more setup, and reusing your own content lives entirely in Archive.
It is also worth remembering why this is worth doing carefully.
Instagram is not a niche channel anymore. Recent estimates put its ad reach at roughly 21% of the global population, according to DataReportal’s Instagram statistics roundup.
Every Story you repost is landing in front of a genuinely massive, high-attention audience, not just filling space between your other posts.
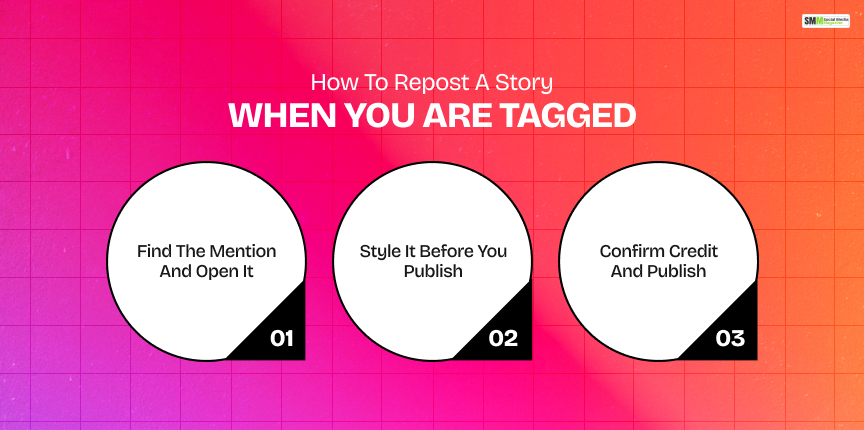
This is the cleanest version of reposting, and it is built directly into Instagram.
It only works when the original account mentions your @username and hasn’t disabled Story sharing.
Go to your Direct Messages.
Instagram sends you a notification whenever someone tags you in a Story.
Tap the message, then tap the Story itself. At the bottom, you will see “Add to your story.”
If you are viewing the Story from your main feed instead, tap the username, then tap the same button.
You land in the Story editor with the original post shown as a sticker. From here:
Instagram automatically attributes the original creator when you use “Add to your story.”
However, I still tag them manually in the caption text. It reads as more genuine and protects you if the automatic attribution ever glitches.
Publish to Your Story or Close Friends.
If the content is strong social proof, such as a testimonial or a client result, save it to a Highlight so it keeps earning views after the 24-hour window closes.
This behavior lines up with what audiences already expect from brands.
HubSpot’s 2025 marketing statistics found that a large share of Instagram users engage with branded Stories on a weekly basis.
It is exactly the habit a quick, well-credited tagged repost taps into.
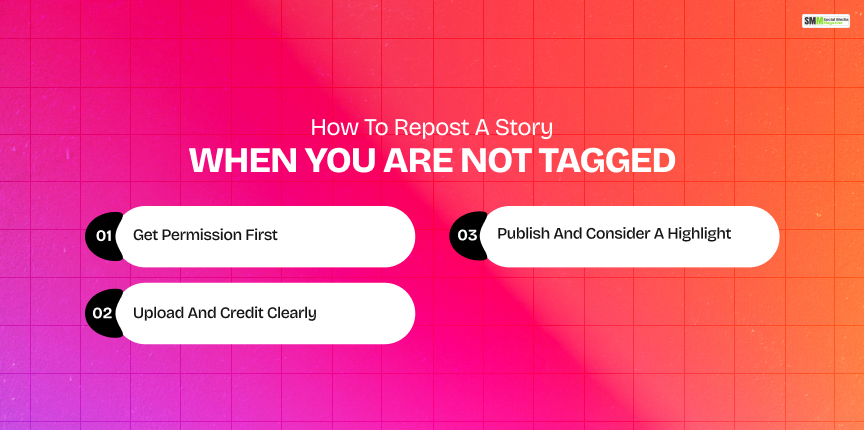
This is where most people get stuck, and honestly, where most of the mistakes happen.
There is no button because Instagram doesn’t know you have a relationship to that content.
| Method | Pros | Cons | Best for |
|---|---|---|---|
| Ask the creator to tag you | Native repost, looks clean, near-zero effort once granted | Depends entirely on their reply time. | Ongoing partners, repeat customers. |
| Screenshot and upload | Fast, no extra tools needed | Loses quality if zoomed, no motion. | Static testimonials, short quotes. |
| Screen recording and upload | Preserves motion and sound | Larger file, can look soft after compression. | Tutorials, before/after clips. |
| Third-party repost tool | Pulls content and attribution automatically | Adds a dependency, and you must always verify usage rights. | Agencies managing many accounts. |
| Rebuild in your brand template | On-brand, sharp, fully controlled | Takes longer than a straight repost. | Evergreen testimonials, promos. |
I lead with a simple DM every time.
“Love this — okay if I repost and tag you?”
It works more often than people expect, and it is the difference between a repost and a rights problem.
If they agree but forget to actually tag you back, grab a screenshot (static) or screen recording (video).
Then crop it so only the story itself is visible before you upload anything.
Open Instagram, tap the plus icon, choose Story, and upload your file.
Add a short caption explaining what viewers are seeing.
Add a visible credit line like “Shared with permission from @username,” and a Link sticker if it should drive traffic somewhere specific.
Keep everything inside that same safe zone from Step 2 above.
If this is a core testimonial, pin it to a Highlight named something simple.
“Results” or “Reviews” work well.
This is also the moment to consider whether it is worth rebuilding the asset in your own visual style rather than reposting a raw screenshot.
It works especially for anything that is going to live on your profile long-term.
The extra effort around permission is worth it.
Backlinko’s 2025 UGC statistics breakdown found that user-generated content consistently outperforms brand-only content on engagement.
It is exactly the upside a proper, credited repost is designed to capture.
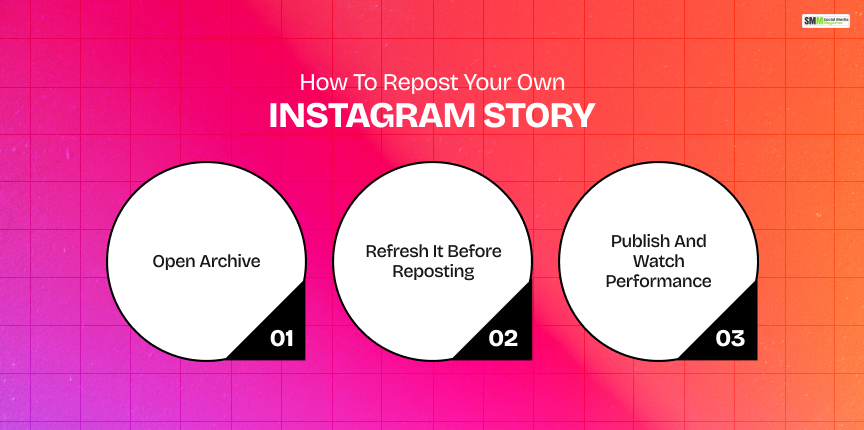
A Story you already ran did well.
It had replies, clicks, sales. Now, you want to run it again for a new offer or a fresh audience segment. This lives entirely inside Archive.
From your profile, tap the menu icon. Then, go to Archive and then Stories Archive. Scroll to find the one you want.
Tap the Story, then Share or Add to Story. Before publishing:
Tap your story.
If a reused Story is consistently a strong performer, that is a signal worth acting on.
Treat it as a starting creative for a paid ad rather than just recycling it organically.
Story-first content has become a default part of how brands operate day-to-day.
Hootsuite’s 2025 Instagram Stories guide frames Stories as a core, always-on space for behind-the-scenes content and quick offers rather than a secondary channel.
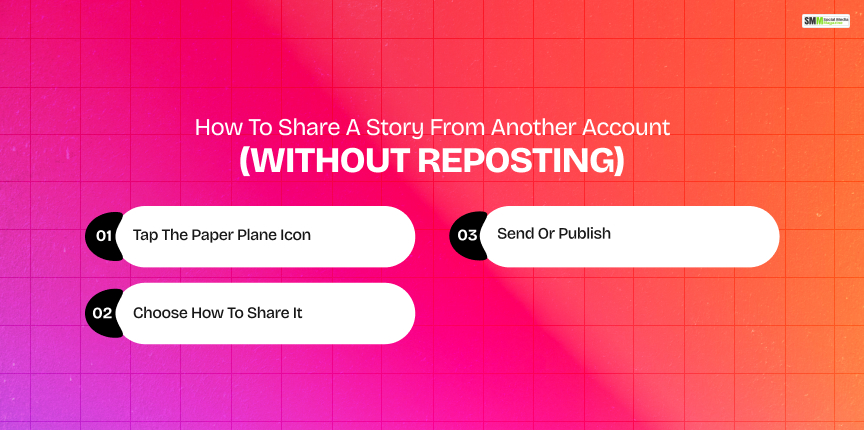
Sometimes you do not want to add something to your own Story. You just want to send it to a client, teammate, or friend.
Open the Story, and at the bottom you will see the send icon. If the account is private, you can only forward it to people who also follow that account.
You can send it as a DM to one person or a group, or, if the option appears, add it directly to your own Story.
You can follow the same safe-zone and credit rules already covered above.
Tap Send for a private share, or Your Story to publish it more broadly.
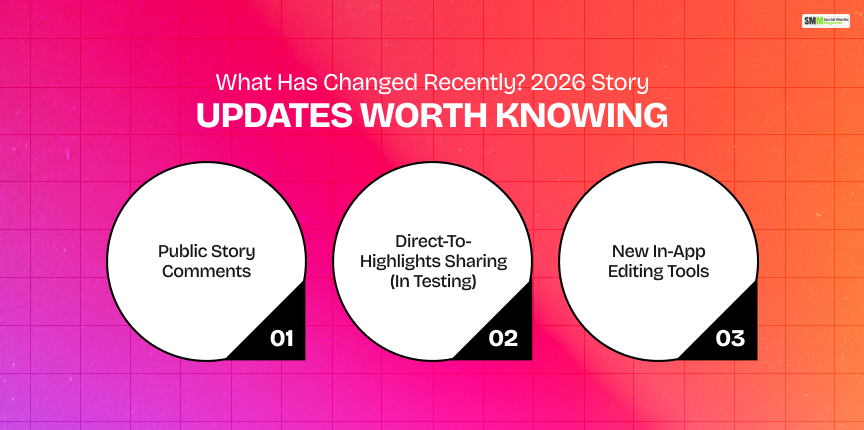
Instagram’s Story features move fast enough that a workflow from even a year ago can be slightly out of date.
A few changes from this year are directly relevant to how you repost and reuse content.
Instagram now lets people comment publicly on a Story instead of only replying by DM.
The comment is visible to everyone watching, and gone when the Story disappears unless it is saved to a Highlight.
Comments only work if you follow the poster back and Story replies are enabled.
This changes the calculus on reposted testimonials a little. A repost with comments enabled can generate real-time social proof of its own.
Instagram is testing the ability to push a Story straight into a Highlight without first posting it to the main Story feed.
If this rolls out fully, it will shorten the “repost a strong testimonial and pin it” workflow described above by a step.
Instagram has continued expanding Story and Reels editing features throughout 2026.
It includes audio replacement and new collage tools for combining multiple images into an animated Story clip.
It is worth checking before you default to screenshotting. A native tool may now do the job cleaner.
I would treat all of the above as “in testing, worth watching” rather than “build your workflow around this today.”
However, it is exactly the kind of thing I check monthly so a client’s process does not quietly go stale.
Before you repost anything with video, run it against these specs so it does not look compressed or blown out once it is live.
| Specs | Recommendation |
|---|---|
| Resolution | Vertical, 1080×1920 |
| Frame rate | 30 fps |
| Format | H.264 MP4 |
| Bitrate | Roughly 3.5–8 Mbps |
| Color space | sRGB |
Here are the things you need to keep in mind at three different stages.
Before you repost:
In the editor:
After publishing:
A repost is not “done” once it is published. The point is finding out whether it actually moved the needle. These are the three numbers I check every time.
| Metric | What It Tells You | What I Check |
|---|---|---|
| CTR (click-through rate) | How many viewers tapped your Link sticker | CTR by frame. It means the first frame vs. later frames. It tells you if your hook is working. |
| CPA (cost per acquisition) | Cost per purchase or lead tied to the Story | Whether ads built from top organic reposts beat the cost of fully new ad creative |
| ROAS (return on ad spend) | Revenue generated per dollar spent | Revenue return specifically for ad sets using repost-derived creative |
My own rule of thumb is to pick one reposted Story that performed well this week.
Then, you can turn it into a small-budget ad and compare its CTR, CPA, and ROAS against your current best-performing ad. Whatever wins, repeat it.

Sibashree has been into SEO and eCommerce content writing for more than 9 years. She loves reading books and is a huge fan of those over-the-top period dramas. Her favorite niches are fashion, lifestyle, beauty, traveling, relationships, women's interests, and movies. The strength of her writing lies in thorough research backing and an understanding of readers’ pain points.

sibashree bhattacharya, 4 hours ago

sibashree bhattacharya, 4 hours ago