How Social Media And SEO Work Together To Build Nationwide Brand Reach
Barsha Bhattacharya, 2 weeks ago
If you record podcasts, YouTube voiceovers, audiobooks, online courses, or music, you’ve likely used Audacity.
It’s one of the most powerful free audio editing tools available today. But one question continues to dominate search results:
At first glance, exporting seems simple. Click “Export as MP3,” choose a location, and you’re done.
But if you want professional-quality sound, smaller file sizes, proper metadata, correct bitrate selection, and compatibility with podcast platforms like Spotify and Apple Podcasts, you need to understand the process deeply.
This guide is designed for beginners and experienced creators who want maximum control over their audio quality.
Before learning How to Save an Audacity File as MP3, you must understand something crucial:
Audacity treats saving and exporting as two completely different processes.
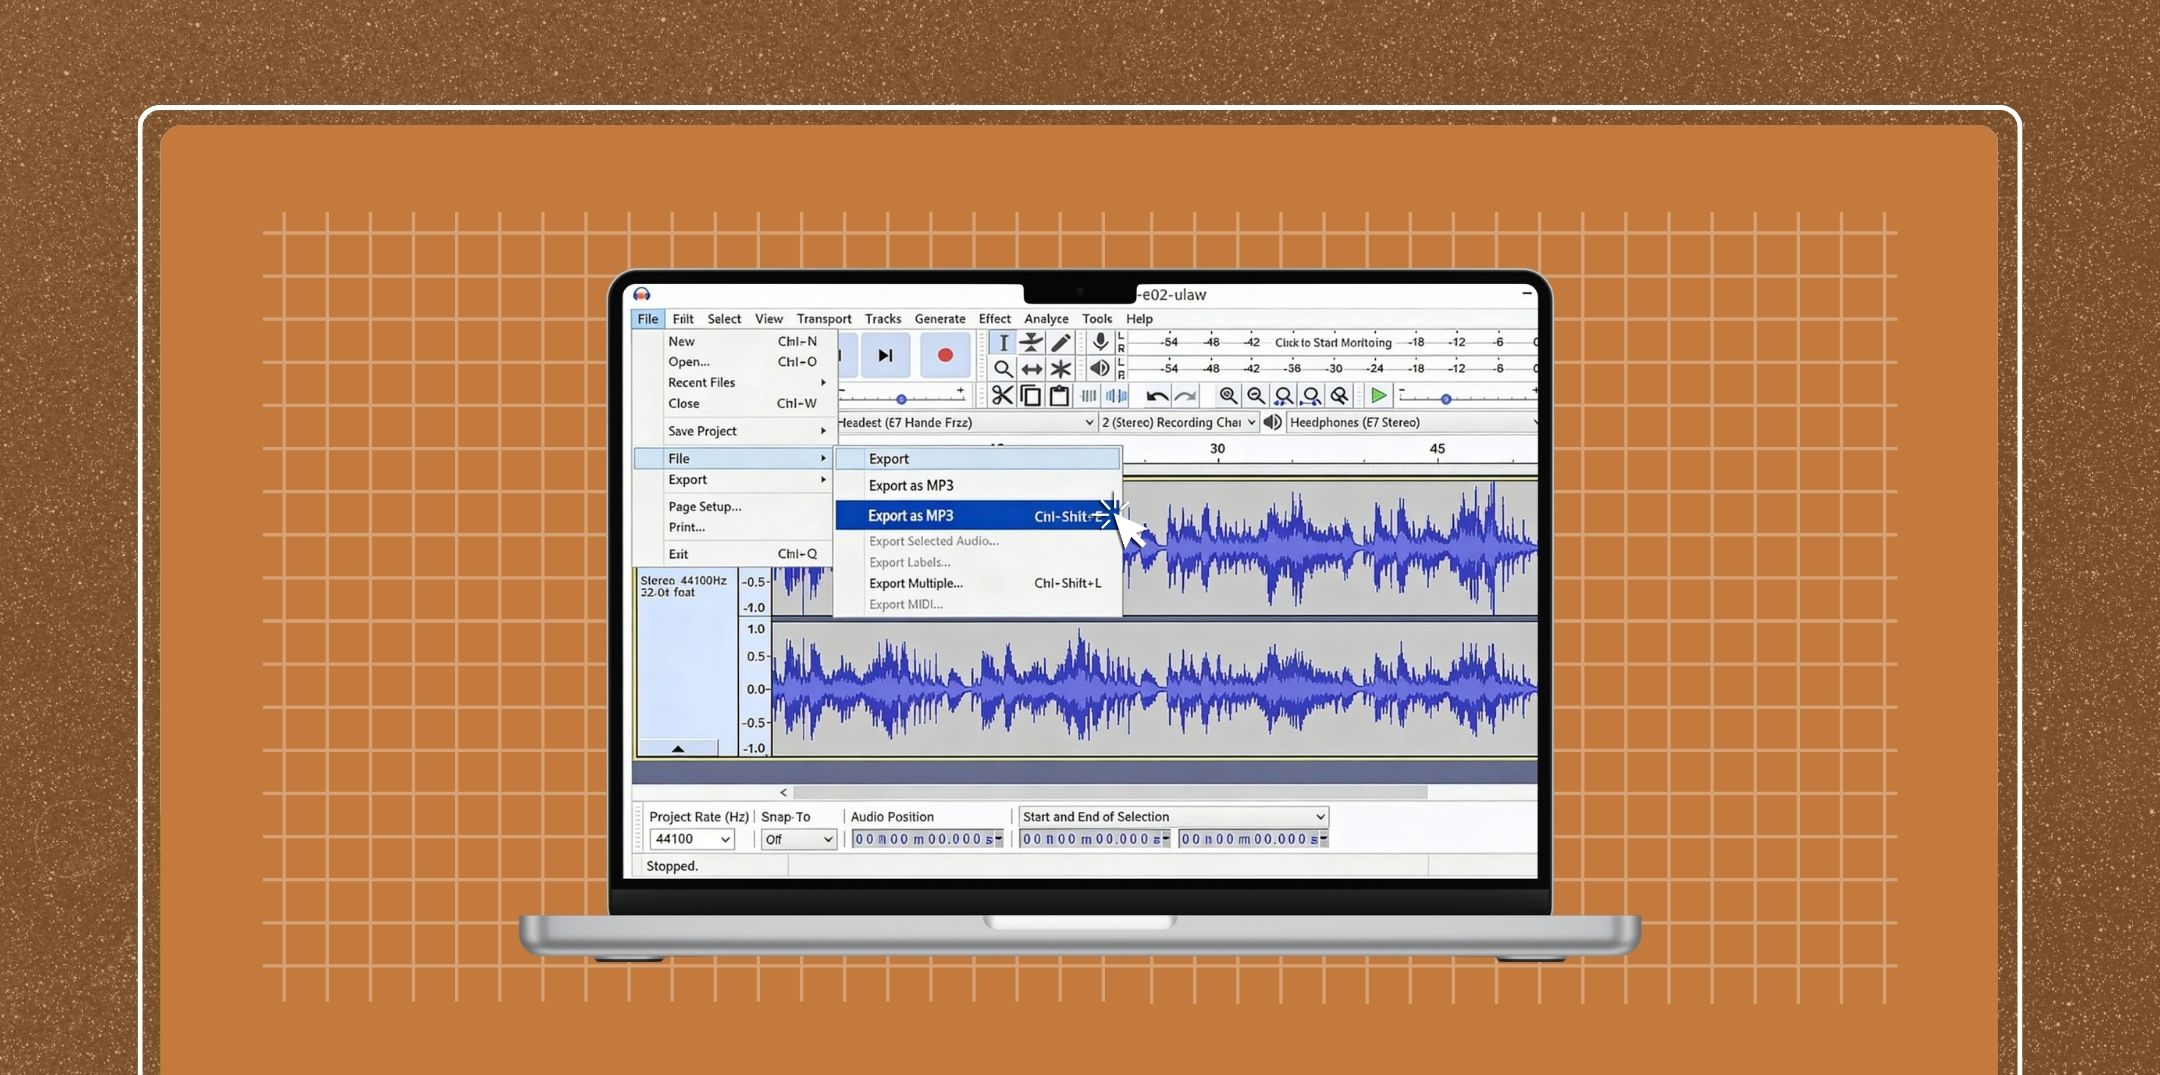
When you go to:
File > Save Project
Audacity saves your work as a .aup3 project file.
This file:
But here’s the key point:
A .aup3 file is NOT playable outside Audacity.
You cannot upload it to Spotify, email it to someone, or play it in VLC.
It’s like a Photoshop file (.psd). It’s editable, not final.
When you choose:
File > Export > Export as MP3
Audacity:
Exporting creates the final product.
Although WAV provides higher quality, MP3 remains the industry standard because:
For podcasters especially, MP3 strikes the perfect balance between quality and file size.
Exporting is the final step. Before that, you must polish your audio. Let’s go through essential editing processes in detail.
Background noise ruins professional sound quality.
Common problems:
Do not overdo noise reduction. Too much creates robotic artifacts.
Pro Tip: Always record in a quiet room to minimize editing later.
Clean editing improves listener retention.
OR
This is essential for:
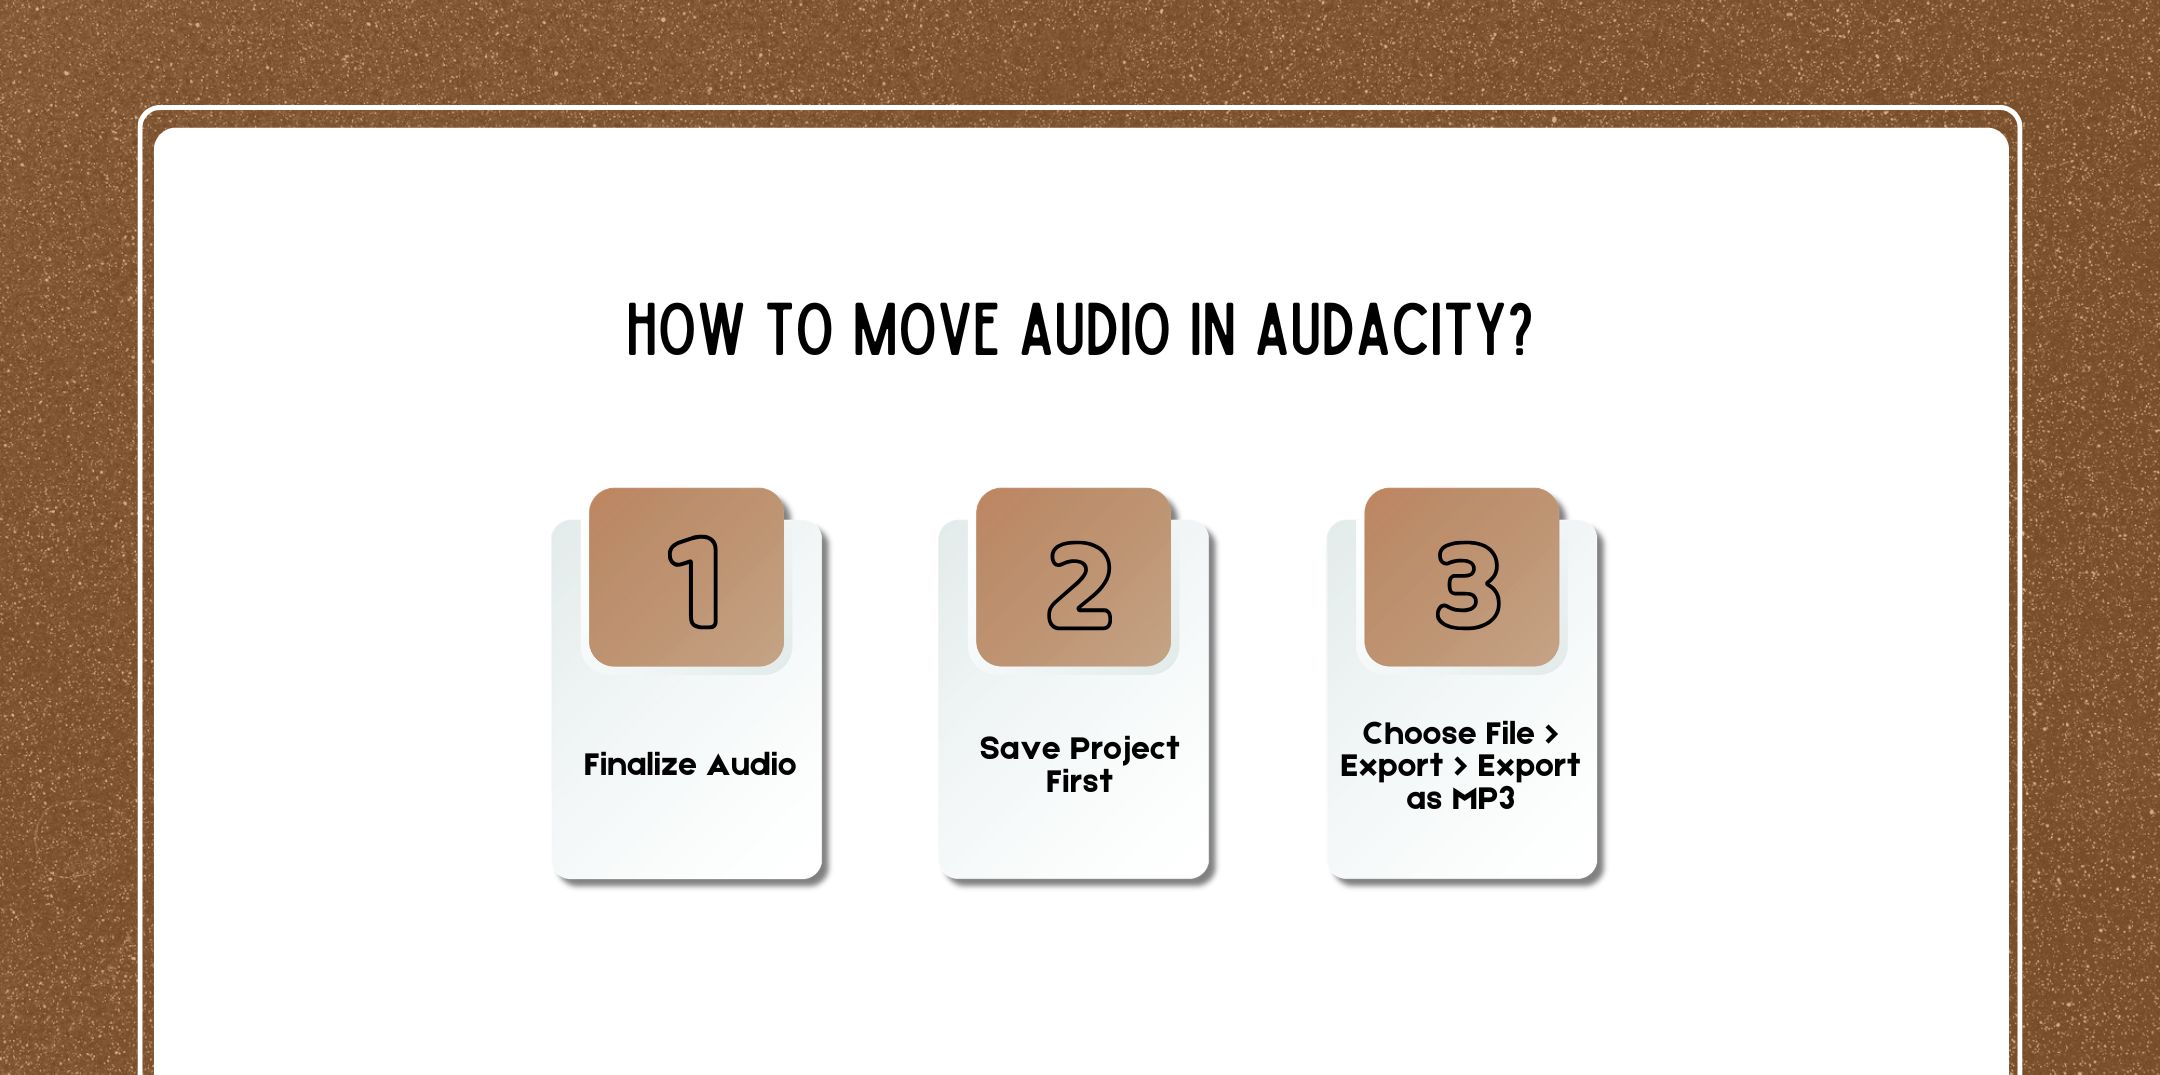
Here is a step-by-step process on how to move audio in Audacity.
Ensure:
Listen to entire track once.
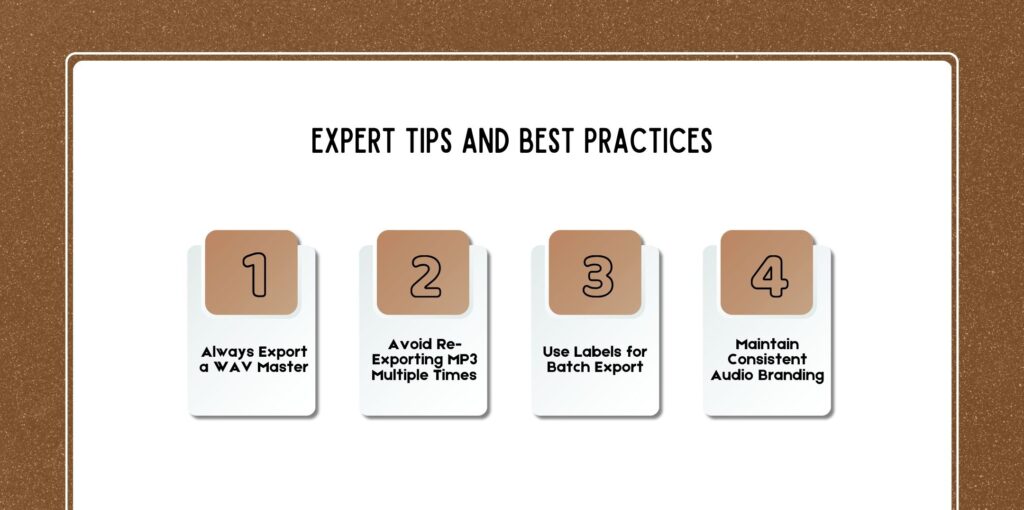
File > Save Project
Always keep an editable backup.
This opens export window.
This is where quality decisions happen.
You will see:
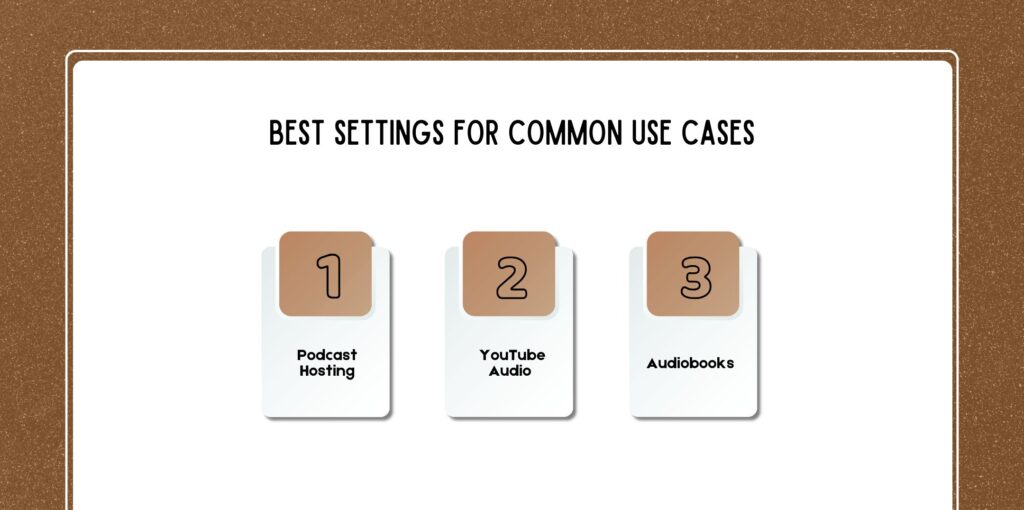
Best for:
Best for:
Bitrate determines sound clarity and file size.
| Bitrate | Quality | Use Case |
| 64 kbps | Low | Basic speech |
| 96 kbps | Good | Voice podcast |
| 128 kbps | Standard | Podcast standard |
| 192 kbps | High | Podcast + music |
| 320 kbps | Very High | Music production |
For spoken podcasts:
128 kbps CBR is ideal
Options:
After choosing the save location, the metadata window appears.
Add:
Proper metadata ensures:
Export settings are important, but content length matters too.
Many creators ask:
General guidelines:
Consistency matters more than length.
Update Audacity to latest version.
Older versions required LAME encoder.
Modern Audacity includes built-in MP3 support.
Check:
Reduce:
Enable file extensions in Windows. Rename manually to .mp3 if needed.
Keep:
Each MP3 export reduces quality slightly.
File > Export > Export Multiple
Useful for:
Use:
While Audacity is powerful, alternatives include:
If editing feels overwhelming, you can hire the best podcast editing and production companies. They handle:
This is ideal for busy creators.
Here are a few questions and queries on the topic of how to save audacity files as mp3 that others have asked that you might find helpful at the same time.
Yes, modern versions of Audacity can export directly as MP3.
To do this:
However, it’s important to understand that Audacity does not technically “save” as MP3 it exports as MP3.
If you try to simply use “Save,” you will not get an MP3 file. Always use the Export option for final output.
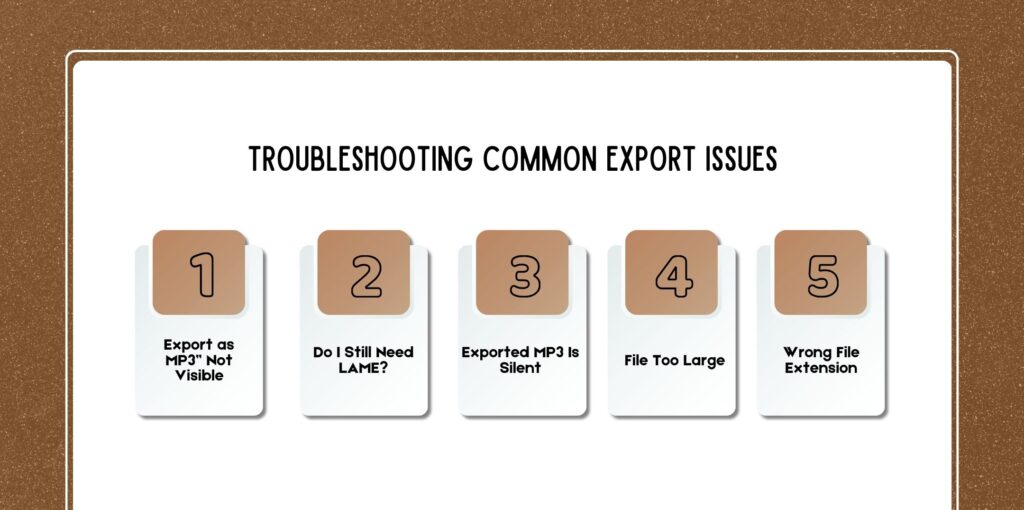
There are several possible reasons:
Older versions of Audacity required a separate MP3 encoder called LAME. If you don’t see “Export as MP3,” update to the latest version of Audacity from the official website.
Modern versions include built-in MP3 export support.
In newer versions, MP3 export may appear under:
File > Export > Export Audio
Then choose MP3 from the file format dropdown.
If your installation is incomplete or corrupted:
The correct bitrate depends on your content type.
If you’re unsure, choose:
128 kbps, Constant Bit Rate (CBR), Mono (for voice-only shows).
No, not in modern versions of Audacity.
Older versions required downloading and installing the LAME MP3 encoder separately.
Now:
If you’re prompted for LAME, your version is outdated update Audacity.
After choosing Export as MP3, Audacity opens a Metadata Editor window.
You can add:
Metadata helps:
Fill in:
You can also use Edit > Metadata to create reusable templates for future exports.
Yes, Audacity supports batch exporting.
(Tracks > Add Label at Selection)
This is useful for:
You can use:
Tools > Macros
This allows automated batch processing for:
This is one of the most common issues. Here are the main causes:
Check:
Each track has a gain slider on the left panel.
Make sure it’s not set to zero.
If the track looks flat (no waveform), the recording may have failed.
Zoom in to verify waveform exists.
Check:
If you highlight empty space and export selection only, the file may be silent.
Solution:
Press Ctrl + A to select the entire track before exporting.
MP3 is a compressed format, so quality depends on settings.
Here are a few best practices when you are exporting high quality audio to MP3.
Each time you export MP3 and re-import it, quality degrades.
Best workflow:
Use:
Effect > Normalize
Set peak to -1.0 dB
This prevents clipping and distortion.
Apply mild compression to balance loudness before exporting.
Export settings cannot fix poor recordings.
Use:
Choosing between VBR and CBR impacts file size and compatibility.
How It Works:
Advantages:
Disadvantages:
Best for:
How It Works:
Advantages:
Disadvantages:
Best for:
For podcasts:
CBR 128 kbps is safest.
For music:
VBR at high quality is better.
Sometimes files appear as:
This happens because Windows hides file extensions by default.
Wrong extensions can:
Always confirm the file ends with .mp3
Mastering How to Save an Audacity File as MP3 is about more than clicking export.
It requires:
Audacity remains one of the best free tools for podcasters and creators. With proper export settings and careful editing, your audio can compete with professionally produced shows.
Whether you’re starting your first podcast and wondering how long a podcast should be. Or you’re scaling and considering the best podcast editing and production companies.
Mastering MP3 export ensures your content is platform-ready, high-quality, and audience-friendly.

Nabamita Sinha loves to write about lifestyle and pop-culture. In her free time, she loves to watch movies and TV series and experiment with food. Her favorite niche topics are fashion, lifestyle, travel, and gossip content. Her style of writing is creative and quirky.

Barsha Bhattacharya, 2 weeks ago

Barsha Bhattacharya, 1 month ago