Best Sounding Podcast Audio

How to Get the Best Sounding Audio for Your Podcast? The Complete Guide to Professional-Quality Sound

In podcasting, content may attract listeners, but audio quality keeps them listening.

You can have brilliant podcast ideas, compelling interviews, and powerful storytelling, but if your sound is inconsistent, noisy, or distorted, listeners will click away. Meanwhile, the truth is simple:

  • Firstly, great podcast audio builds trust.
  • Secondly, poor audio destroys credibility.

However, this comprehensive guide will walk you through everything you need to know about achieving the Best Sounding Podcast Audio, from equipment and recording techniques to editing workflows, software comparisons, and expert-level polishing tips.

Podcast Sound Fundamentals

Podcast Sound Fundamentals

Creating exceptional podcast audio starts with understanding the fundamentals. However, before you invest in expensive gear or advanced software, you need clarity on what actually makes audio sound “professional.”

1. Why Audio Quality Matters?

Podcasting is an intimate medium. Meanwhile, listeners typically consume content:

  • In their cars
  • On headphones during workouts
  • While commuting
  • While doing chores

However, in most cases, they’re wearing headphones. That means every:

  • Mouth click
  • Breath
  • Echo
  • Background noise
  • Volume inconsistency

…becomes amplified.

High-quality audio:

  • Builds authority and professionalism
  • Improves listener retention
  • Reduces fatigue
  • Makes sponsorships more attractive
  • Encourages binge-listening

Therefore, even if you’re asking, how long should a podcast be? understand this:

A 20-minute podcast with excellent audio will outperform a 60-minute episode with poor sound.

2. Key Sound Quality Metrics

Professional podcast audio is measured using:

1. LUFS (Loudness Units Full Scale)

Industry standard loudness for podcasts:

  • 16 LUFS (stereo)
  • 19 LUFS (mono)

2. Dynamic Range

The difference between quiet and loud sounds. Good compression keeps this controlled without sounding flat.

3. Signal-to-Noise Ratio

Your voice should be significantly louder than the background noise.

4. Clarity & Presence

Voice should sound warm, natural, and upfront, not thin or distant.

Choosing Recording Equipment That Delivers

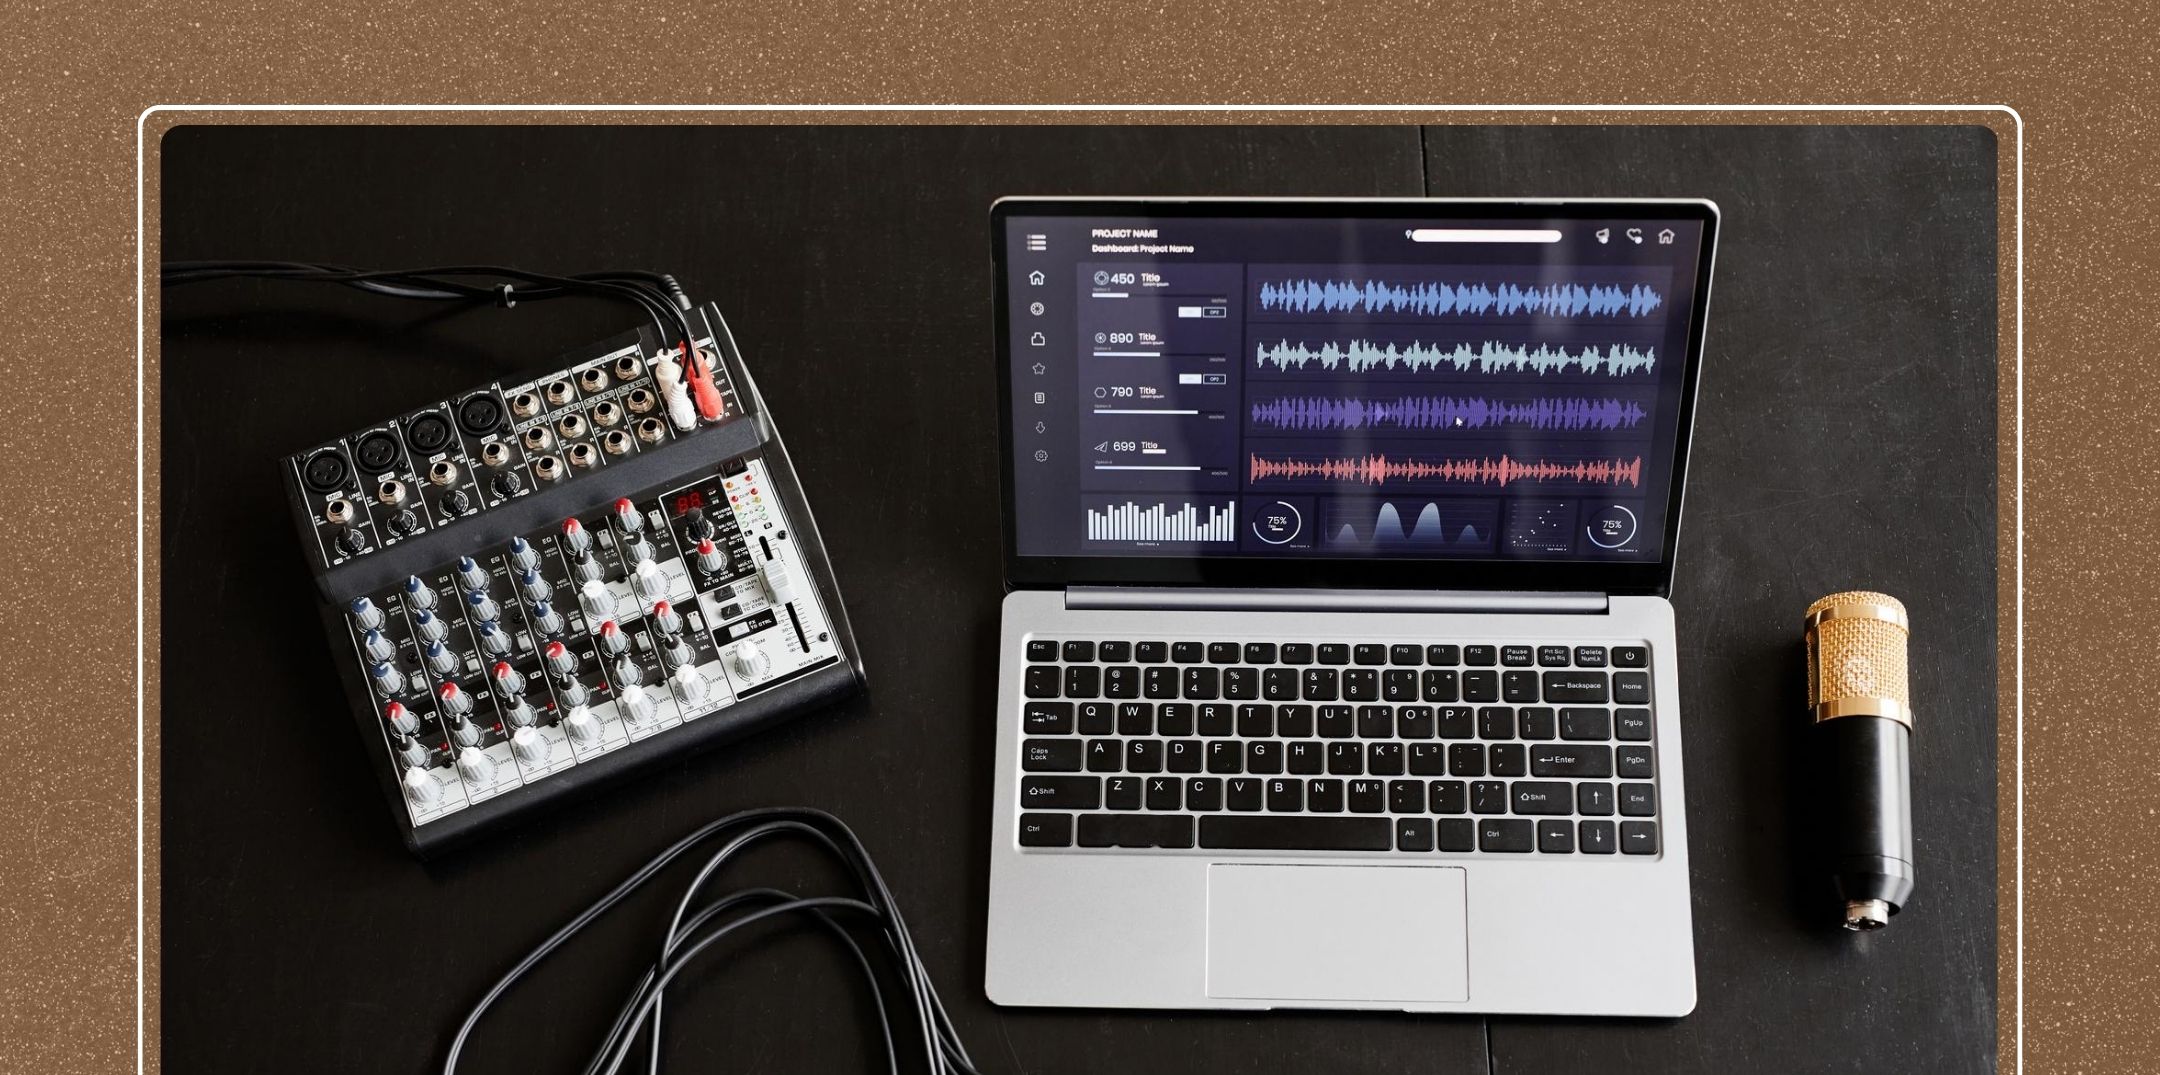
You don’t need a $5,000 studio. But you do need the right tools.

1. Microphones: USB vs. XLR

– USB Microphones

Plug-and-play convenience. Great for beginners.

Pros:

  • Affordable
  • Easy setup
  • No interface required

Cons:

  • Limited upgrade path
  • Slightly less control over gain

Popular USB options:

  • Audio-Technica ATR2100
  • Blue Yeti
  • Samson Q2U

– XLR Microphones

Used by professionals. Requires an audio interface.

Pros:

  • Superior sound quality
  • Greater control
  • Upgrade flexibility

Popular XLR mics:

  • Shure SM7B
  • Rode PodMic
  • Electro-Voice RE20

Therefore, if you want the Best Sounding Podcast Audio, XLR microphones generally win.

2. Essential Accessories

Even the best mic won’t save a poor setup.

Meanwhile, the must-have accessories:

  • Pop filter (reduces plosives)
  • Shock mount (reduces vibrations)
  • Boom arm
  • Closed-back headphones
  • Foam windscreen

3. Interfaces & Mixers

If using XLR:

  • Focusrite Scarlett 2i2
  • Rodecaster Pro
  • Zoom PodTrak

Therefore, interfaces convert analog sound into digital audio. They allow proper gain control critical for clean sound.

Optimal Recording Environment

Optimal Recording Environment

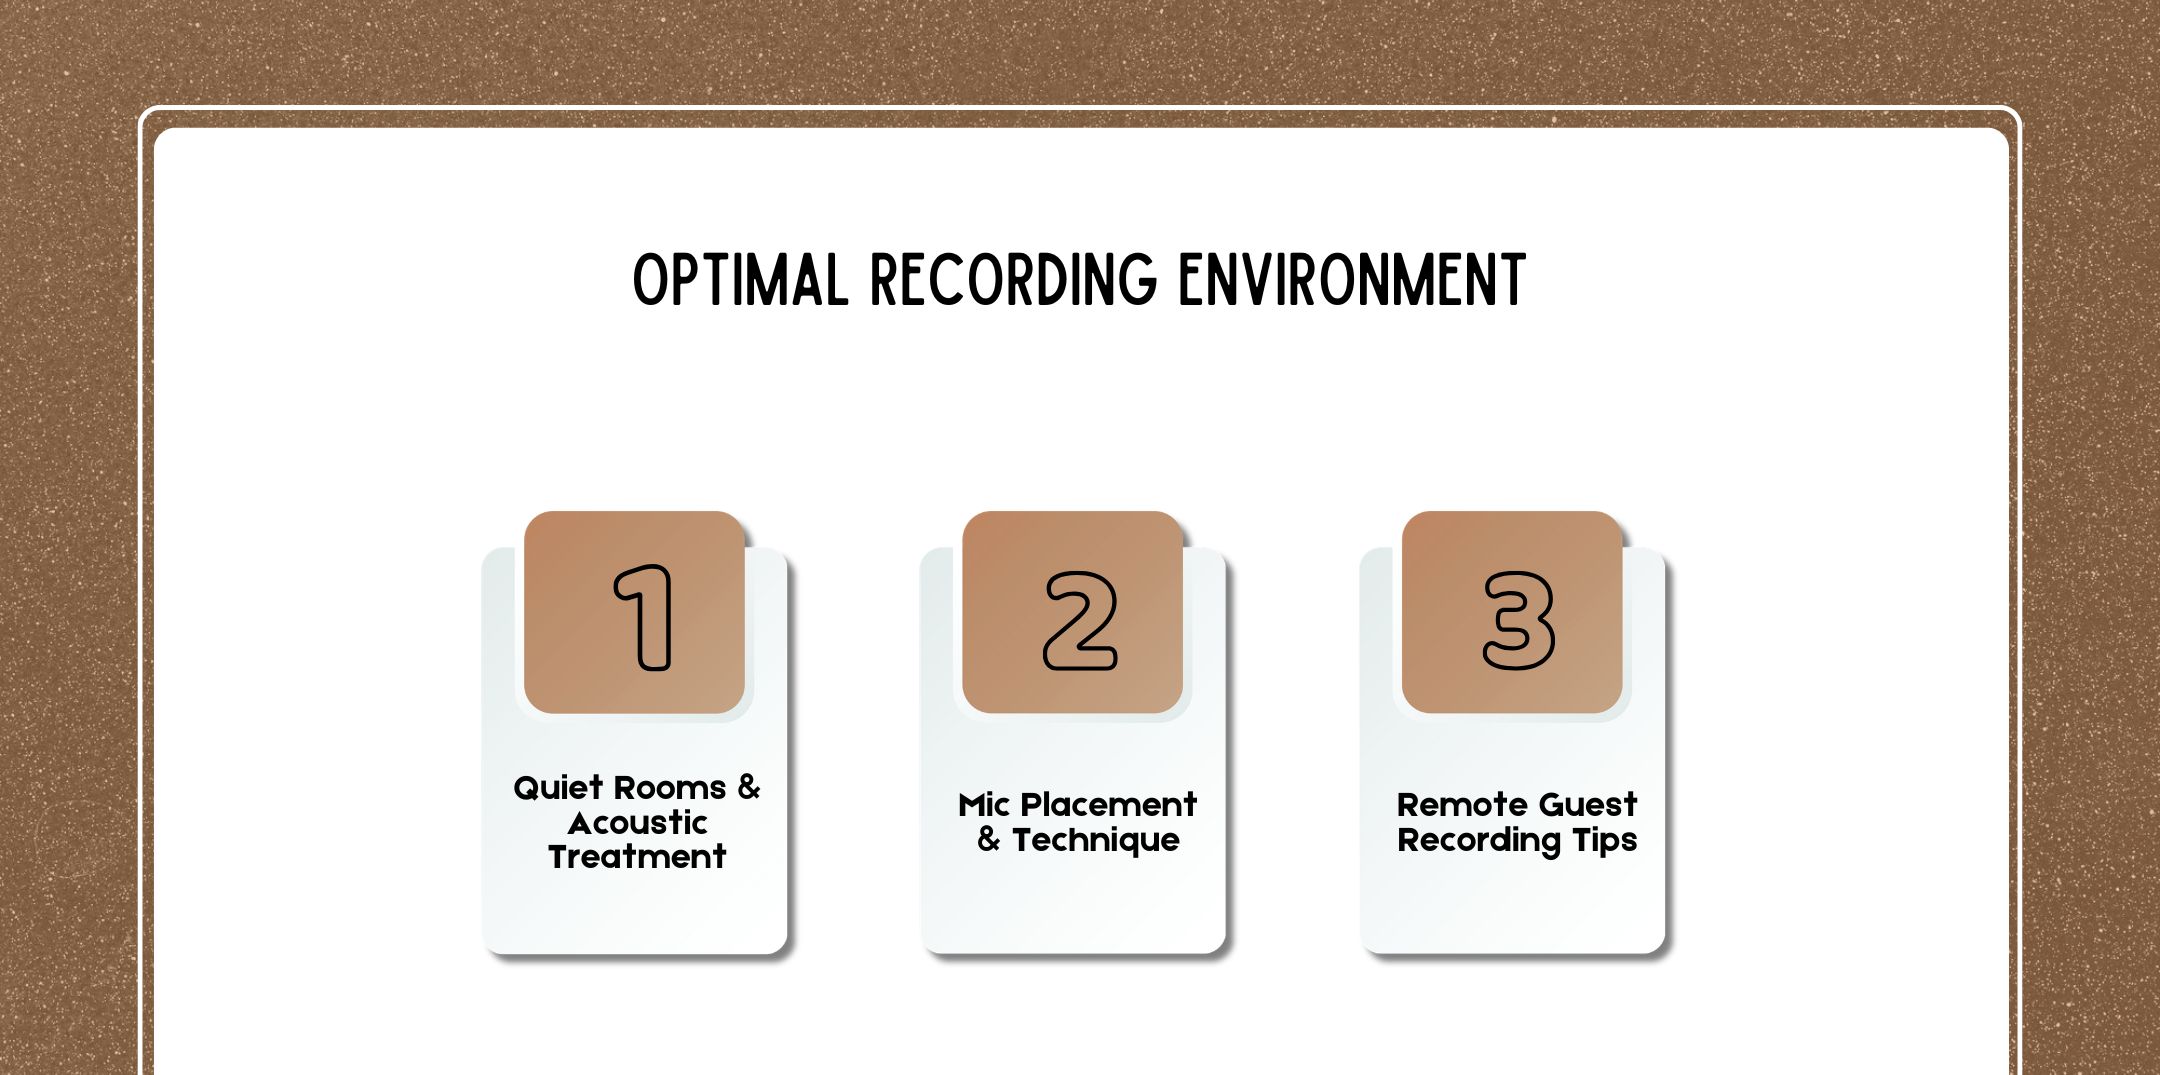
Your environment matters more than your microphone.

1. Quiet Rooms & Acoustic Treatment

Avoid:

  • Empty rooms
  • Tiled floors
  • Hard surfaces

Instead:

  • Record in carpeted rooms
  • Use curtains, couches, and bookshelves
  • Add acoustic foam panels
  • Use blankets if on a budget

Consequently, echo ruins otherwise perfect audio.

2. Mic Placement & Technique

Position:

  • 4–6 inches from the mouth
  • Slightly off-axis
  • Speak across the mic, not directly into it
  • Consistency is key.

If you constantly move, your audio will fluctuate.

3. Remote Guest Recording Tips

Remote interviews can sound terrible unless done correctly.

Best practices:

  • Have guests wear headphones
  • Use external mics (not laptop mics)
  • Record locally if possible
  • Avoid Wi-Fi instability

Tools like Riverside, SquadCast, and Zencastr help improve remote audio quality.

Recording Best Practices

Recording Best Practices

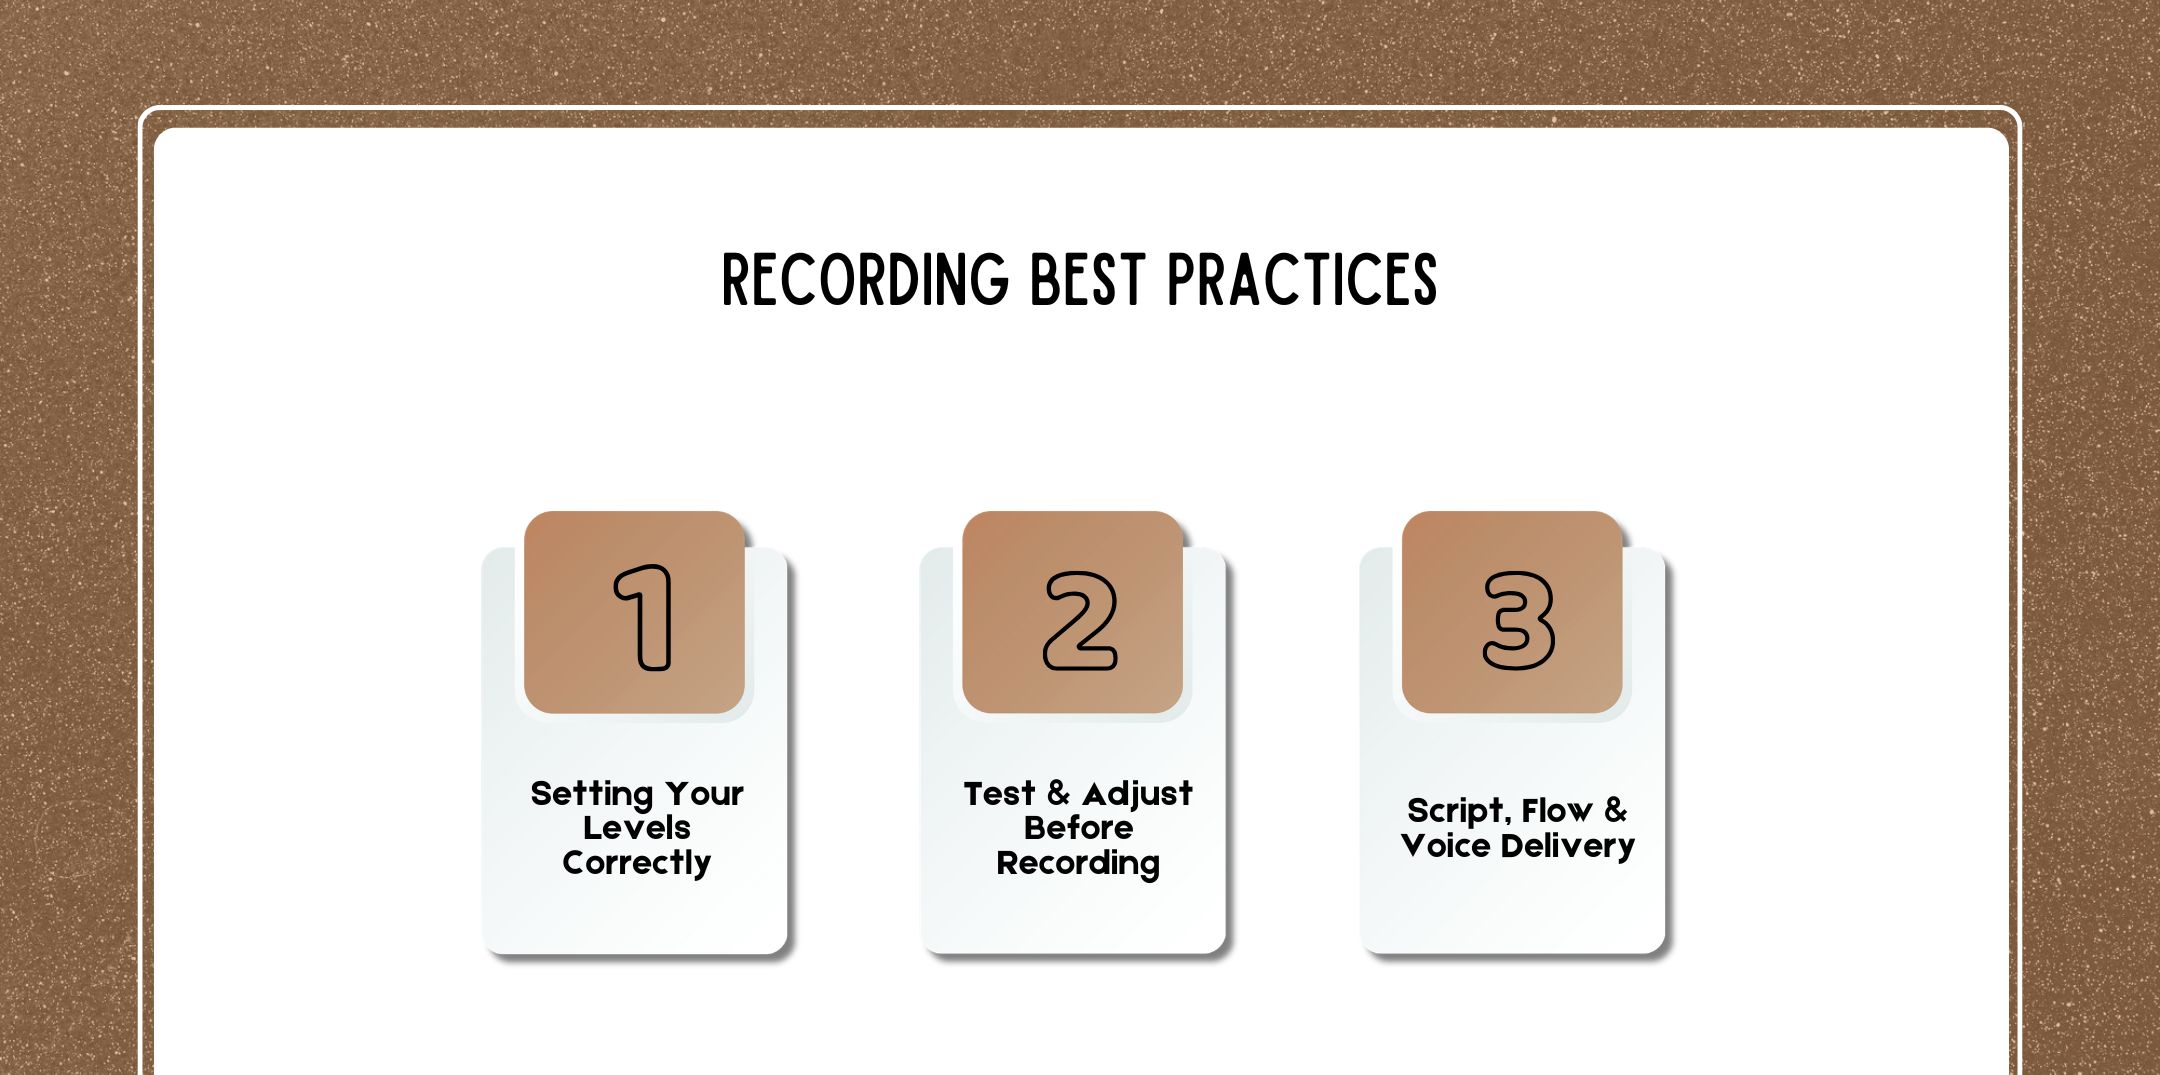
It is important to record your podcast in the best quality.

1. Setting Your Levels Correctly

Your recording should peak around:

  • -12dB to -6dB
  • Too loud? Distortion.
  • Too quiet? Noise when boosted.
  • Avoid recording in the red zone.

2. Test & Adjust Before Recording

Always:

  • Do a 30-second test
  • Listen back on headphones
  • Check for clipping
  • Adjust gain accordingly

Never skip this step.

3. Script, Flow & Voice Delivery

Your vocal performance affects audio quality.

Tips:

  • Hydrate before recording
  • Avoid dairy
  • Warm up your voice
  • Smile while speaking
  • Maintain steady pace

Great delivery reduces editing later.

Editing For A Pro Sound

Editing transforms good recordings into professional-quality episodes.

1. Noise Reduction

In Audacity:

  • Use noise profile tool
  • Apply light reduction (avoid over-processing)

Be subtle. Too much noise reduction creates robotic artifacts.

2. EQ & Compression: What They Do?

· EQ (Equalization)

Balances frequencies.

Basic EQ for voice:

  • High-pass filter at 80–100Hz
  • Slight boost around 3–5kHz for clarity
  • Reduce muddiness around 200–400Hz

· Compression

Controls dynamic range.

Audacity Compressor:

  • Ratio: 3:1
  • Threshold: -18dB
  • Soft knee enabled

This evens out the loud and quiet parts.

3. Loudness Normalization

Use:

  • Audacity’s normalize audio feature
  • Target -16 LUFS

This ensures consistent volume across episodes.

4. Exporting & File Settings

If you’re wondering how to save Audacity file as MP3, follow:

  1. File → Export
  2. Choose MP3
  3. 128–192 kbps bitrate
  4. Constant bitrate preferred

Also know how to:

  • Use audacity cut track
  • Use how to move audio in audacity for aligning segments

Always save original project before exporting.

Tools, Software & Automation Options

Tools, Software & Automation Options

Choosing the right DAW (Digital Audio Workstation) or podcast production software directly impacts your workflow efficiency, audio consistency, and overall production quality. However, the best tool for you depends on:

  • Firstly, your technical comfort level
  • Secondly, your desired control over sound design
  • Thirdly, your production volume
  • Finally, whether you prefer manual editing or automation

Some podcasters love fine-tuning every EQ band and compressor threshold. Others want a system that “just works.”

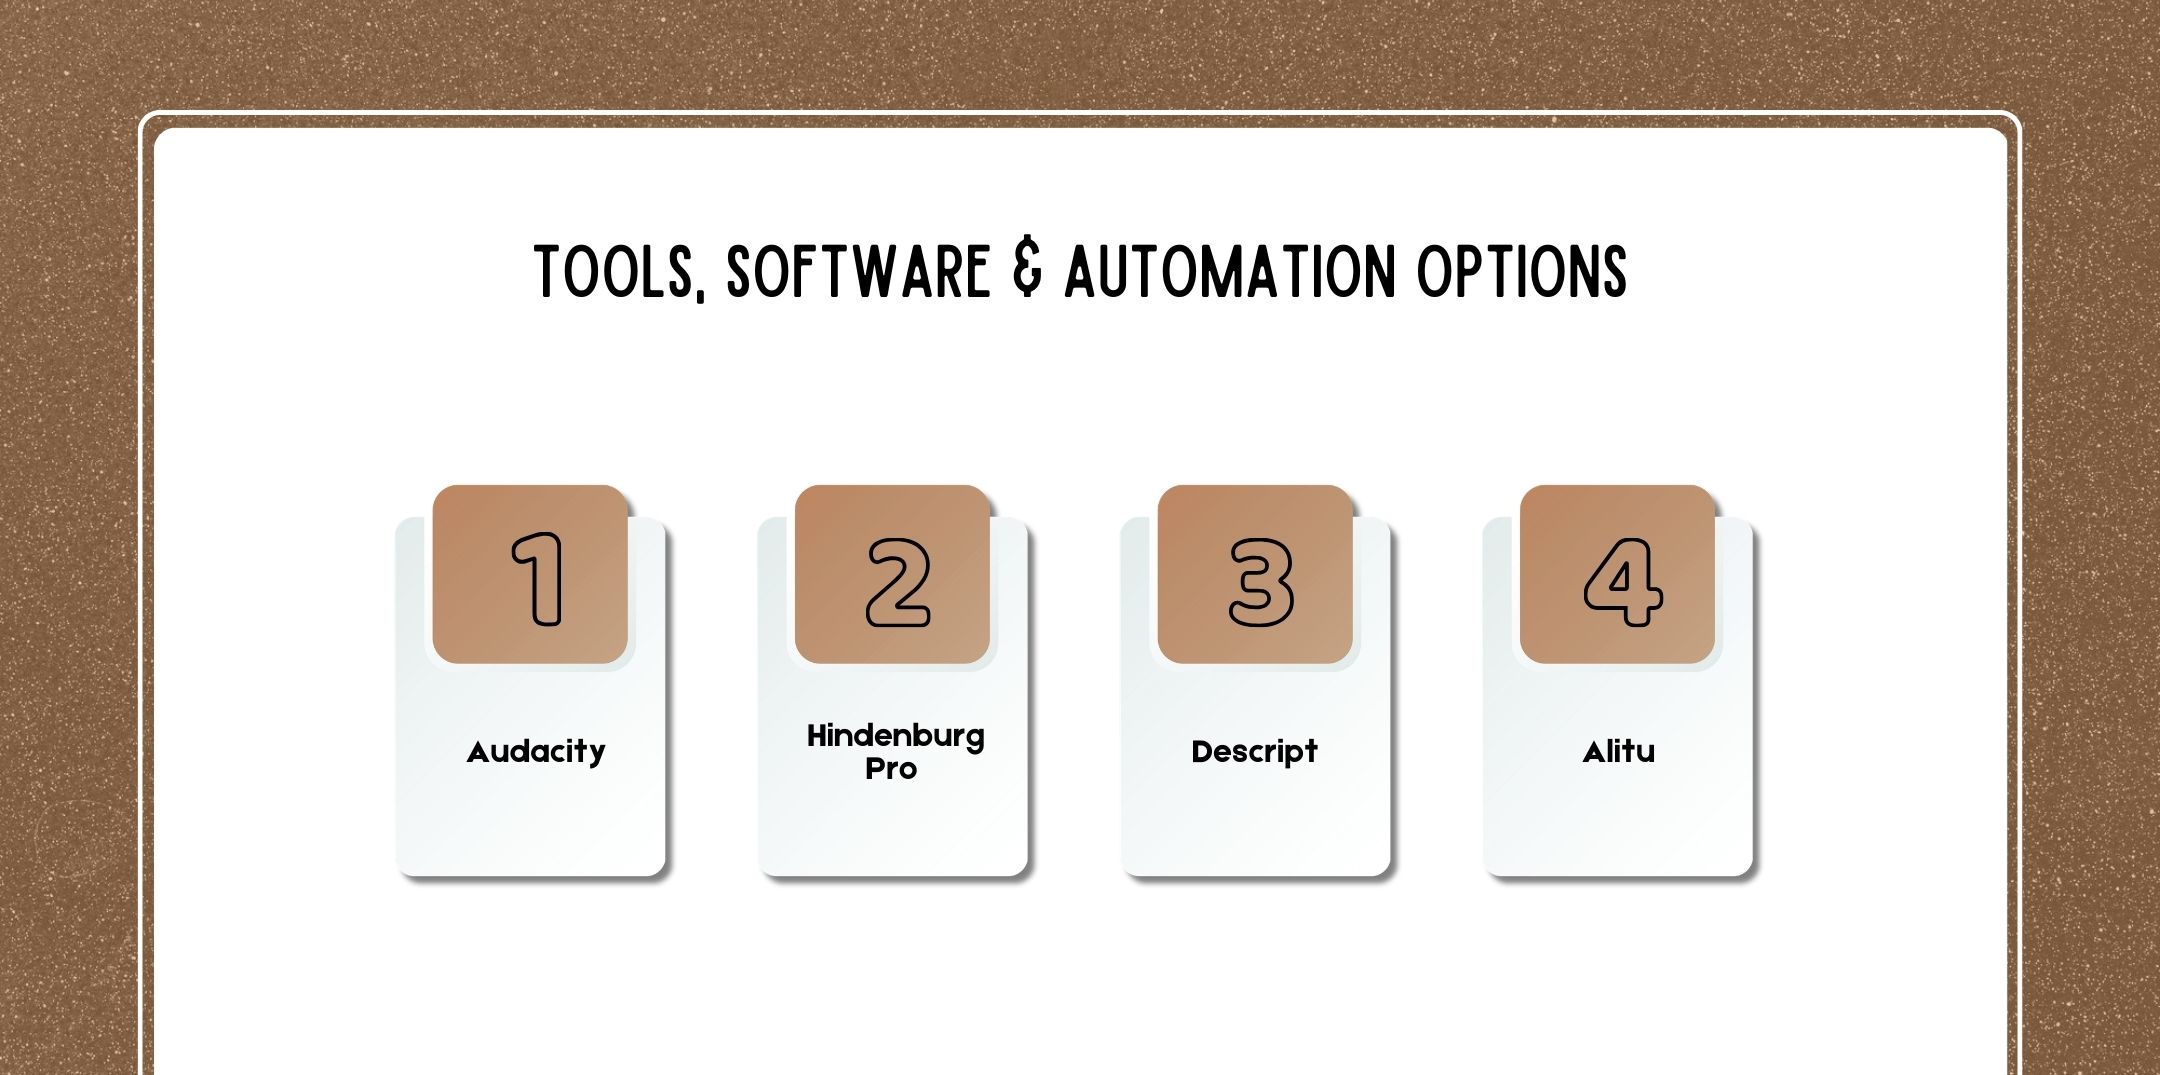
However, let’s break down the most popular options for achieving the Best Sounding Podcast Audio.

1. Audacity

Best for: Beginners, budget creators, and manual control enthusiasts

Cost: Free

Platform: Windows, Mac, Linux

Audacity is one of the most widely used free DAWs in podcasting. Despite being free, it is extremely capable and can produce broadcast-level results when used correctly.

Why Audacity Is Powerful?

Audacity gives you manual control over every stage of editing. Unlike automation tools, it requires you to understand what you’re doing, but that’s also its strength.

It includes essential tools such as:

  • Audacity compressor – Controls dynamic range and evens out vocal volume
  • How to move audio in audacity (Time Shift Tool) – Aligns multiple tracks precisely
  • Audacity normalize audio – Adjusts peak levels and loudness consistency
  • Audacity cut track – Cleanly removes unwanted sections

With these tools alone, you can:

  • Remove background noise
  • Apply EQ
  • Control vocal peaks
  • Normalize to podcast loudness standards (-16 LUFS)
  • Export high-quality MP3 files

Workflow Strengths

  • Firstly, full waveform editing control
  • Secondly, plugin compatibility (VST support)
  • Thirdly, lossless editing (WAV-based workflow)
  • Finally, simple export options (including how to save Audacity file as MP3)

Limitations

  • Firstly, interface feels dated
  • Secondly, no built-in automatic LUFS targeting (requires manual workflow)
  • Thirdly, no text-based editing
  • Finally, no built-in remote recording

Who Should Use Audacity?

However, if you:

  • Firstly, want full creative control
  • Secondly, are comfortable learning compression and EQ
  • Thirdly, don’t mind manual workflows
  • Finally, want professional results without paying

Audacity is more than enough to produce the Best Sounding Podcast Audio but it requires knowledge and discipline.

2. Hindenburg Pro

Best for: Serious podcasters, journalists, narrative creators

Cost: Premium

Platform: Windows, Mac

While Hindenburg Pro is built specifically for spoken-word audio. Unlike general-purpose DAWs (like Audacity or Adobe Audition), Hindenburg focuses exclusively on voice-based production.

Key Strength: Automatic Loudness Management

Hindenburg Pro automatically:

  • Firstly, adjusts levels when importing clips
  • Secondly, maintains consistent loudness
  • Thirdly, targets broadcast standards
  • Finally, balances dialogue segments

This dramatically reduces post-production time.

Professional Workflow Features

  • Non-destructive editing
  • Clip-based gain adjustment
  • Built-in voice profiling
  • Integrated publishing tools
  • Advanced metadata management

Its interface is cleaner and more intuitive than traditional DAWs. Instead of overwhelming users with music-production tools, it focuses on storytelling and interviews.

Why It Produces High-Quality Audio?

  • Automatic loudness leveling reduces inconsistencies
  • Built-in EQ presets tailored for speech
  • Smooth compression defaults
  • Designed around narrative clarity

Limitations

  • Higher price point
  • Less customizable than music DAWs
  • Not ideal for heavy sound design projects

Who Should Use Hindenburg Pro?

However, if you:

  • Firstly, produce interview-based shows
  • Secondly, value consistency over technical tweaking
  • Thirdly, want professional broadcast results
  • Finally, prefer clean workflow design

Therefore, Hindenburg Pro is one of the most efficient ways to produce polished, consistent podcast audio.

3. Descript (Based on Descript Reviews)

Best for: Content creators, video podcasters, fast editors

Cost: Subscription-based

Platform: Windows, Mac

Descript revolutionized podcast editing by introducing text-based editing. Instead of editing waveforms visually, you edit the transcript.

What Makes Descript Unique?

Meanwhile, when you upload audio:

  • Firstly, it automatically transcribes speech.
  • Secondly, you can delete words in the transcript to remove them from audio.
  • Thirdly, editing becomes similar to editing a document.

However, according to most Descript reviews, this dramatically speeds up workflow.

Key Features

Here are a few key features of descript;

1. Overdub AI

Allows you to:

  • Clone your voice (ethically and with consent)
  • Fix mistakes without re-recording
  • Insert corrected phrases
2. Studio Sound Enhancement

AI-powered audio enhancement:

  • Reduces noise
  • Improves clarity
  • Simulates studio-quality tone

Great for remote interviews or untreated rooms.

3. Automatic Filler Word Removal

Removes:

  • “Um”
  • “Uh”
  • Repeated words

Speeds up cleanup significantly.

Strengths

  • Extremely fast editing
  • Ideal for video + podcast combo workflows
  • AI-driven enhancement
  • Great for remote collaboration

Limitations

  • Less detailed manual control than traditional DAWs
  • AI processing can sometimes sound artificial
  • Requires internet for some features

Who Should Use Descript?

If you:

  • Create high-volume content
  • Hate waveform editing
  • Want automation
  • Produce video podcasts

Descript is one of the fastest ways to produce clean, publish-ready audio.

4. Alitu (Based on Alitu Review)

Best for: Non-technical podcasters

Cost: Subscription-based

Platform: Web-based

Alitu is built for creators who don’t want to learn audio engineering.

It focuses on automation over customization.

What Alitu Automates?

  • Leveling
  • Noise reduction
  • Compression
  • File formatting
  • Publishing

You upload raw audio, and Alitu processes it automatically.

Workflow Simplicity

  • Record directly inside the platform
  • Upload raw audio
  • Automatic enhancement
  • Add intro/outro music
  • Publish directly to hosting platforms

According to many Alitu Review summaries, its biggest strength is simplicity.

Strengths

  • Beginner-friendly
  • No technical learning curve
  • Fast turnaround
  • Consistent processing

Limitations

  • Limited control over EQ or compression settings
  • Less customizable sound
  • Automation may not match manual professional mastering

Who Should Use Alitu?

If you:

  • Hate technical editing
  • Produce solo episodes
  • Want fast publishing
  • Don’t care about deep customization

Alitu is excellent for speed over control.

Manual Editing vs Automation: Which Produces the Best-Sounding Podcast Audio?

Here’s the honest answer:

  • Manual editing (Audacity, Hindenburg Pro) gives you maximum control and potentially superior quality.
  • Automation tools (Descript, Alitu) give you speed and convenience.

If your goal is ultimate polish:

→ Manual control wins.

If your goal is efficiency:

→ Automation tools win.

The best workflow often combines both:

  • Record properly
  • Use light automation
  • Manually fine-tune EQ and compression

Expert Tips & Best Practices For The Best-Sounding Podcast Audio

Even with great equipment and solid editing skills, consistency is what truly separates amateur podcasts from professional productions.

The following checklist isn’t just a list of suggestions; it’s a discipline framework used by experienced podcasters and audio engineers to consistently produce the Best Sounding Podcast Audio.

1. Maintain Consistent Mic Distance

Why it matters:

Inconsistent mic distance causes unpredictable volume fluctuations, tonal changes, and uneven compression response.

When you lean back:

  • Your voice becomes thinner.
  • Room noise becomes more noticeable.
  • Compression exaggerates background noise.

When you lean too close:

  • Plosives increase.
  • Bass frequencies (proximity effect) become boomy.
  • Clipping risk increases.

Best Practice:

  • Keep your mouth 4–6 inches from the mic.
  • Use a boom arm so the mic stays fixed.
  • Sit upright rather than slouching.
  • Mark the desk position if needed.

Pro Tip:

If you notice compression pumping or inconsistent tone during editing, mic distance inconsistency is often the cause.

2. Always Monitor With Closed-Back Headphones

Why it matters:

You cannot fix what you cannot hear.

Closed-back headphones:

  • Prevent sound leakage into the microphone.
  • Allow real-time monitoring.
  • Reveal subtle background noises (fans, hums, mouth clicks).

Editing only on laptop speakers hides problems like:

  • Low-frequency rumble
  • Harsh sibilance
  • Excessive compression artifacts
  • Room echo

Best Practice:

  • Monitor during recording.
  • Do a quick playback test before starting.
  • Use headphones during editing as well.

Recommended types:

  • Closed-back studio headphones (e.g., Audio-Technica M50x, Sony MDR-7506).

Pro Tip:

If your podcast sounds good in headphones, it will translate better across cars, phones, and speakers.

3. Normalize Levels Across Episodes

Why it matters:

Listeners expect consistency. If one episode is quieter or louder than the previous one, it disrupts the listening experience and reduces perceived professionalism.

Inconsistent loudness:

  • Forces listeners to adjust volume manually.
  • Damages brand credibility.
  • Creates listener fatigue.

Best Practice:

  • Normalize to -16 LUFS (stereo).
  • Maintain similar peak levels (-1dB max ceiling).
  • Apply consistent compression settings episode to episode.

In Audacity:

  • Use audacity normalize audio tool.
  • Apply loudness normalization before exporting.

Pro Tip:

Create a saved preset for compression and EQ so every episode sounds part of the same “audio brand.”

4. Backup Raw Recordings (Cloud + Local Storage)

Why it matters:

Hard drives fail. Files get corrupted. Power outages happen. If you only store one copy of your raw recording, you’re risking hours of work.

Professional rule:

If it doesn’t exist in two places, it doesn’t exist.

Best Practice:

  • Save the raw WAV file locally.
  • Upload to cloud storage immediately (Google Drive, Dropbox, OneDrive).
  • Keep at least two physical storage locations.

Advanced workflow:

  • Record to SD card (hardware recorder).
  • Simultaneously record to the computer.

Pro Tip:

Never delete raw files after editing. If future updates or remasters are needed, you’ll need the original audio.

5. Record In WAV Format

Why it matters:

WAV files are lossless. They preserve full audio data.

MP3 files:

  • Compress audio.
  • Remove frequency information.
  • Introduce artifacts when edited repeatedly.

Editing compressed files leads to:

  • Degraded clarity
  • Warbling sounds
  • Reduced dynamic range

Best Practice:

  • Record in WAV (44.1kHz, 16-bit minimum).
  • Edit in WAV.
  • Export final version as MP3 (128–192 kbps).

Therefore, if you’re wondering how to save Audacity file as MP3, always do this only after final processing.

Pro Tip:

Never stack compression by exporting MP3 multiple times. Therefore, only compress once at final export.

6. Edit in Lossless Format

Why it matters:

Every edit alters waveform data. Editing a compressed file compounds degradation.

Lossless editing:

  • Maintains clarity
  • Preserves dynamic range
  • Allows cleaner EQ adjustments

Best Practice:

  • Firstly, save your Audacity project file.
  • Secondly, keep the original WAV untouched.
  • Thirdly, export MP3 only after mastering is complete.

Therefore, this ensures your podcast maintains broadcast-level quality.

7. Keep Room Tone Recorded

Why it matters:

Room tone is 10–20 seconds of silence from your recording environment. However, it sounds insignificant, but it’s crucial.

Without room tone:

  • Cuts sound unnatural.
  • Silence feels abrupt.
  • Edits feel choppy.

With room tone:

  • You can smooth transitions.
  • Replace removed sections seamlessly.
  • Maintain ambient consistency.

Best Practice:

  • Firstly, record 15 seconds of silence at the start of every session.
  • Secondly, use this for noise profiling.
  • Thirdly, use it to fill gaps when cutting mistakes (via Audacity cut track).

Pro Tip:

Room tone makes edits invisible.

8. Maintain Consistent Vocal Energy

Why it matters:

Audio quality isn’t just technical it’s performance-driven.

However, with inconsistent vocal energy:

  • Firstly, causes unpredictable dynamics.
  • Secondly, it requires heavier compression.
  • Thirdly, it sounds less engaging.

Best Practice:

  • Record standing if possible.
  • Smile slightly while speaking.
  • Keep hydration nearby.
  • Record at similar times of day for tonal consistency.

9. Use Light Compression: Not Overprocessing

Why it matters:

Over-compression makes audio:

  • Fatiguing
  • Flat
  • Artificial

Consequently, under-compression makes audio:

  • Firstly, inconsistent
  • Secondly, hard to hear in noisy environments
  • Thirdly, balanced compression smooths volume naturally.

However, if using Audacity compressor, aim for:

  • Ratio: 3:1
  • Threshold: Moderate
  • Avoid extreme makeup gain

10. Label and Organize Your Sessions

Professional workflows reduce errors. Best Practice:

  • Name tracks clearly (Host, Guest, Music).
  • Save project versions.
  • Organize episode folders.

Clean workflow = fewer mistakes.

Common Mistakes To Avoid

  1. Recording too far from mic
  2. Ignoring background noise
  3. Over-compressing audio
  4. Publishing without normalization
  5. Editing only on laptop speakers
  6. Skipping test recordings
  7. Saving only in MP3 during editing
  8. Not backing up raw files

However, many beginners obsess over how long should a podcast be but length matters less than clarity and pacing.

FAQs

Here are a few questions and queries on the topic of best-sounding podcast audio that others have asked, and you might find helpful at the same time.

1. What microphone type gives the best podcast audio?

XLR dynamic microphones generally deliver the best sound for podcasting, especially in untreated rooms. They reject background noise better than condenser mics.

2. Should I record in WAV or MP3 for the best quality?

Always record in WAV. However, it’s lossless. MP3 is compressed and should only be used for final export.

3. How close should I be to the mic?

4–6 inches is ideal. However, too close causes plosives; too far causes echo and thin sound.

4. What is LUFS and why is it important for podcasts?

LUFS measures perceived loudness. Podcasts should target:
-16 LUFS stereo
-19 LUFS mono
This ensures consistent playback volume across platforms.

5. Is editing necessary for great sound?

Yes. Even excellent recordings needs, 1. EQ, 2. Compression, 3. Loudness normalization and 4. Editing refines your voice.

6. Can I improve audio quality without professional gear?

Absolutely. Focus on, 1. Room treatment, 2. Mic technique, 3. Proper gain staging, 4. Clean editing and 5. Environment > Equipment.

Creating The Best Sounding Podcast Audio

In conclusion, podcast success isn’t about fancy gear.

It’s about:

  • Firstly, a controlled recording environment
  • Secondly, proper mic technique
  • Thirdly, smart editing
  • Fourthly, consistent loudness
  • Finally, thoughtful publishing

Whether you use Audacity, Hindenburg Pro, Descript, or explore an Alitu Review before choosing automation tools, your workflow should support clarity and consistency.

And remember:

Before asking how long should a podcast be ask:

  • Firstly, does it sound professional?
  • Secondly, because in podcasting, your voice is your brand.

Thirdly, great sound builds loyal listeners.

author image

Nabamita Sinha loves to write about lifestyle and pop-culture. In her free time, she loves to watch movies and TV series and experiment with food. Her favorite niche topics are fashion, lifestyle, travel, and gossip content. Her style of writing is creative and quirky.

Leave a Reply

Your email address will not be published. Required fields are marked *

Related